

And this is from my heart
Fernando
Which is deep inside my body:
It’s better to look good
Than to feel good
This article is a little longer and more roundabout than your most humble and obedient servant’s previous posts, but I wanted to share with you some of Japan’s history, and examples of this country’s most fabulous practical art as produced by its blacksmiths and professional sharpeners as insight into the Japanese mindset regarding sharpening. But before I get into that, I would like to share some relevant words of wisdom from Hollywood’s wisest man.
The handsome gentleman in the picture above is Fernando (actually Billy Crystal). He is neither a blacksmith nor a sharpener of tools or weapons, but his insight into physical beauty and words of wisdom about happiness are pertinent to sharpening, as we shall see below. If you are not familiar with ‘Nando, I suggest you google him or view a video or two on NoobTube.
So what does this dapper Latin lover have to do with sharpening? And swords? Read on kind sir.
As ‘Nando taught the world, a wise person will not equate looking good with feeling good. Likewise, you would be wise to not confuse a blade’s appearance with its performance. Indeed, a blade that looks as sharp as the skinny end of nothing may not actually cut well in some applications. A good example is Japanese swords. Let me tell you a true story to illustrate my point.
When I was a university student in Japan, I was privileged to be entrusted with a number of swords that belonged at the time to the late Dr. Walter Compton, Chairman of Miles Laboratories and the inventor of Alka-Seltzer. He was a wealthy man who had a huge collection of swords obtained while an officer for the US military in Japan immediately after the war when Allied forces required the defeated Japanese people, on pain of death, to surrender all swords, civilian and military. Of course, many valuable and rare family heirlooms were surrendered or forcefully confiscated. Supposedly they all went to the bottom of Tokyo Bay in bunches, or were melted for scrap. But we know better, don’t we.
Towards the end of his life, Dr. Compton put a lot of money into having his better swords professionally sharpened, new shirasaya scabbards and furniture made, and formally evaluated in preparation for donating them to the Boston Museum of Art, where many of them reside in obscurity today. Sadly, due to progressive dementia, some of his most valuable swords were auctioned off without his permission. “The feckless sons of wealthy men” is the operative phrase in this case, I fear.
I assisted Dr. Compton’s representative by transporting over 70 of these swords to and from Japan and performing the necessary legwork to accomplish these goals inside Japan. During those years I held in my hands and feasted my eyes on rare and beautiful blades of great historical value several of which would have easily been designated National Treasures if they had been intended to remain in Japan (“National Treasures” may not leave Japan).
During those years I spent a lot of time meeting, questioning, and requesting services of the best sword sharpeners in Japan, learning much about swords, stones, and sharpening. Dr. Compton’s reputation was such, and his swords were of such rarity and high quality, that I had no difficulty persuading the very best craftsmen to work on them and speak with me, including a famous sword polisher named Mr. Okisato Fujishiro.
Interestingly, in Japan such craftsmen are called “Togishi” (研師), an unambiguous word that can only be translated as “sharpener.” However, in the West these same Japanese craftsmen are called “ Sword Polishers.” In the post-war context, this actually may be more accurate than the Japanese term. In a post-war world it’s certainly more politic.
Before the elimination of the caste system Japanese society had 4 main divisions labeled “Shi No Ko Sho,” meaning, in descending order, Warrior (samurai), Farmer, Craftsman, and Merchant at the bottom. The Emperor, Court Nobles, and Shoguns were above these strata, although of the three, only the Shogun possessed any actual power because the man with the sword makes the rules, and those without weapons do as they are told and quickly, or they go away permanently. Thus it has always been because both fool and wise man leak red sticky stuff.
Blacksmiths and sword sharpeners were both in the craftsman caste, but curiously the sword sharpener was above the swordsmith in rank. Depending on their support among the warrior caste, and with the generous application of yellow metallic lubricant, both swordsmiths and sword sharpeners occasionally obtained noble rank, an honor to which few craftsmen, farmers, and merchants could aspire. My point is that sword sharpeners, while of relatively lower caste, often had a perceived rank higher than their craftsman position would suggest.
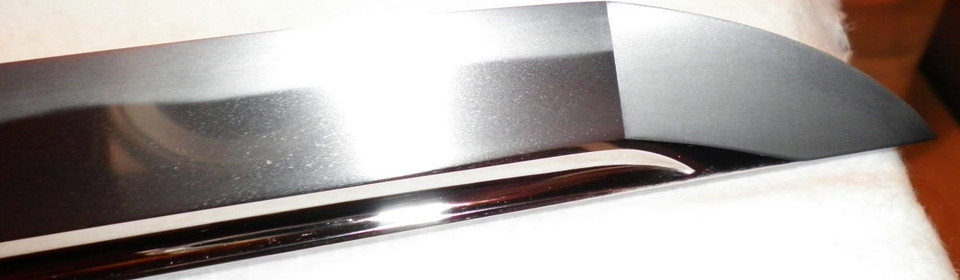
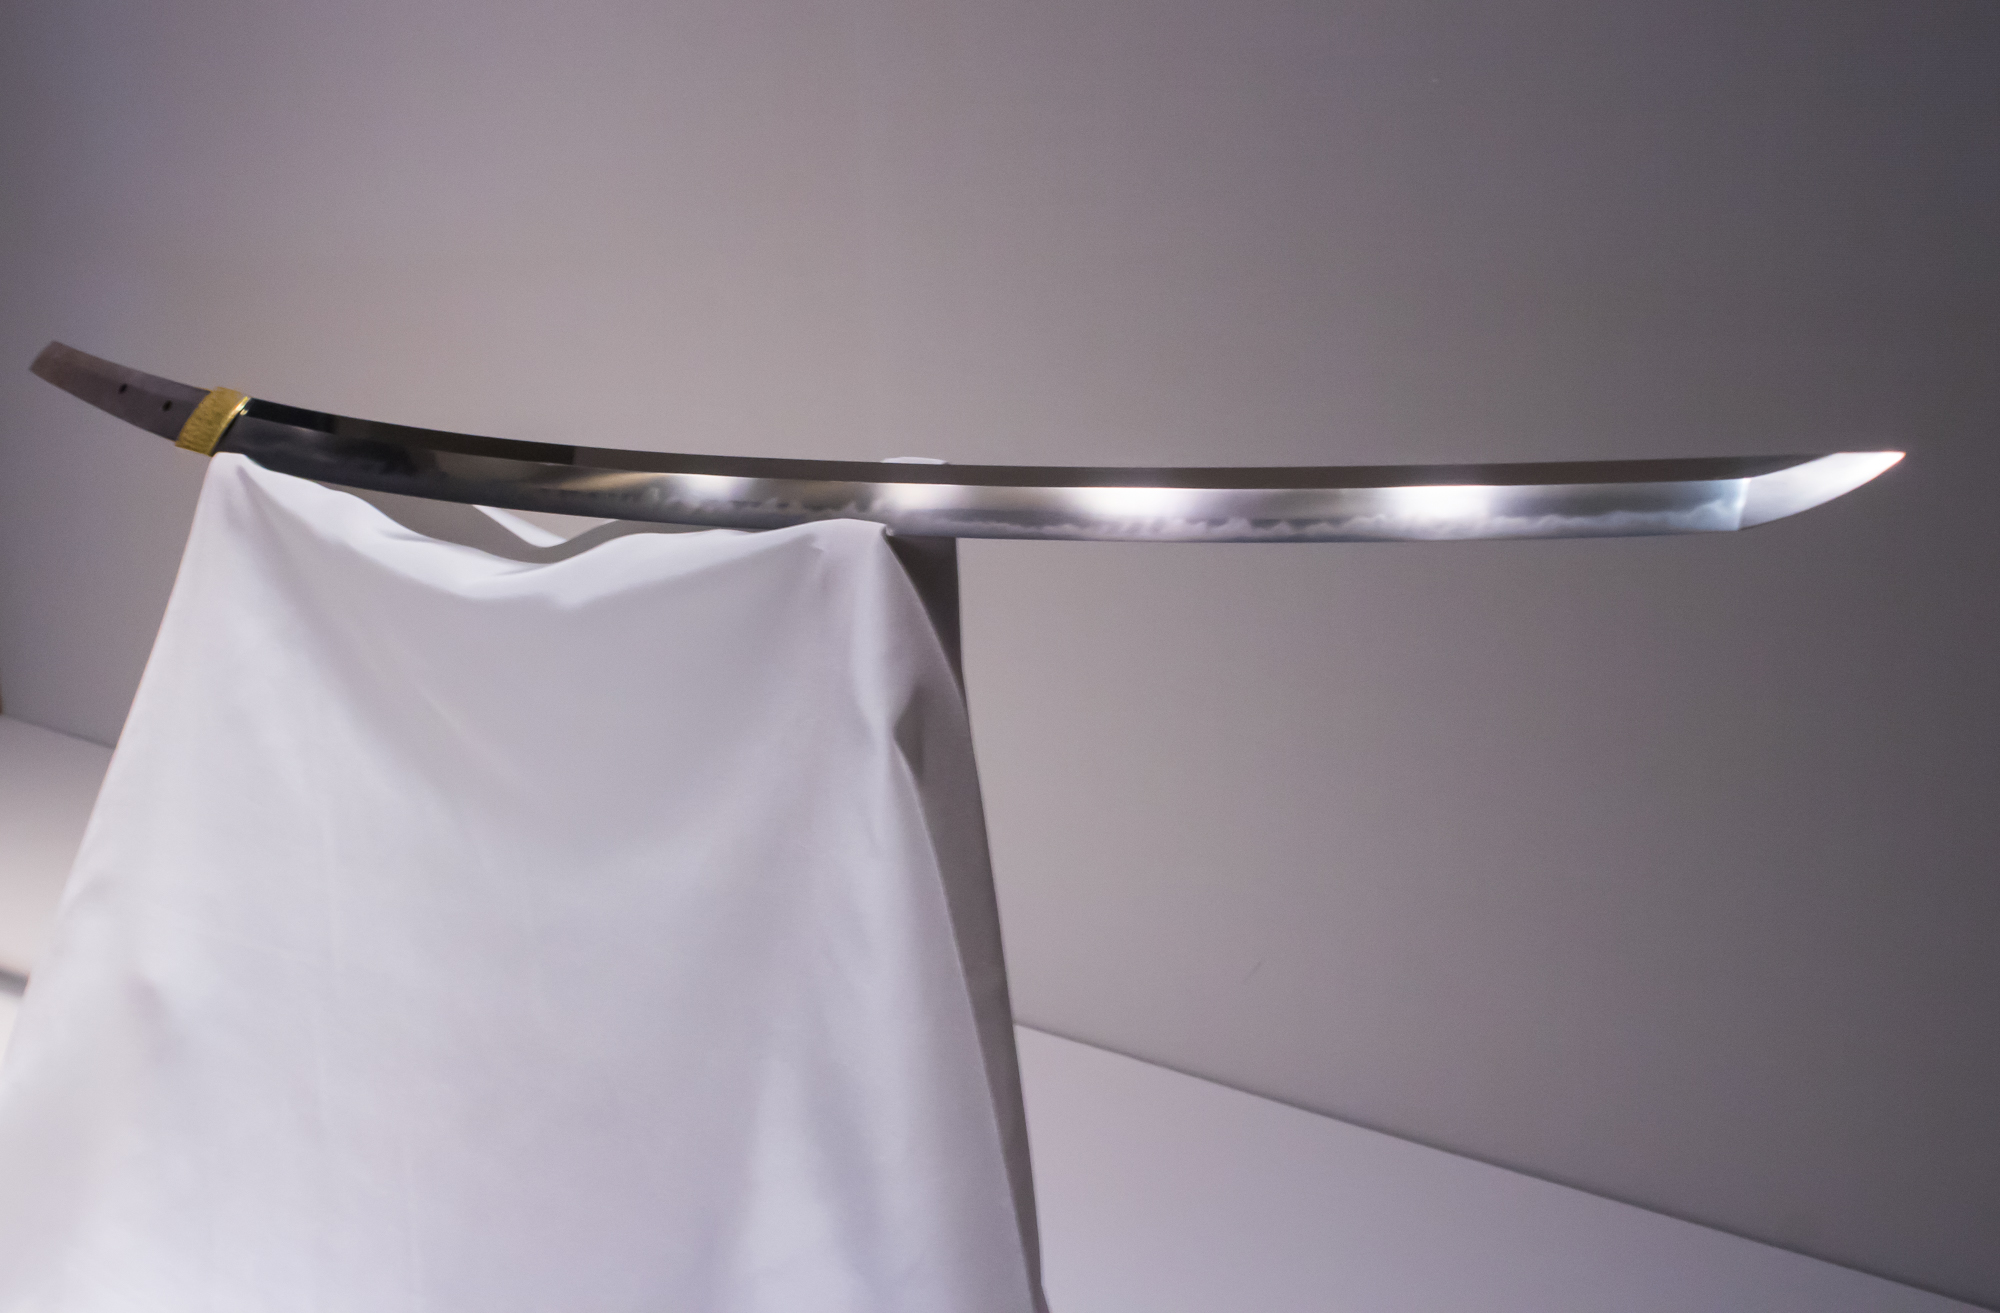
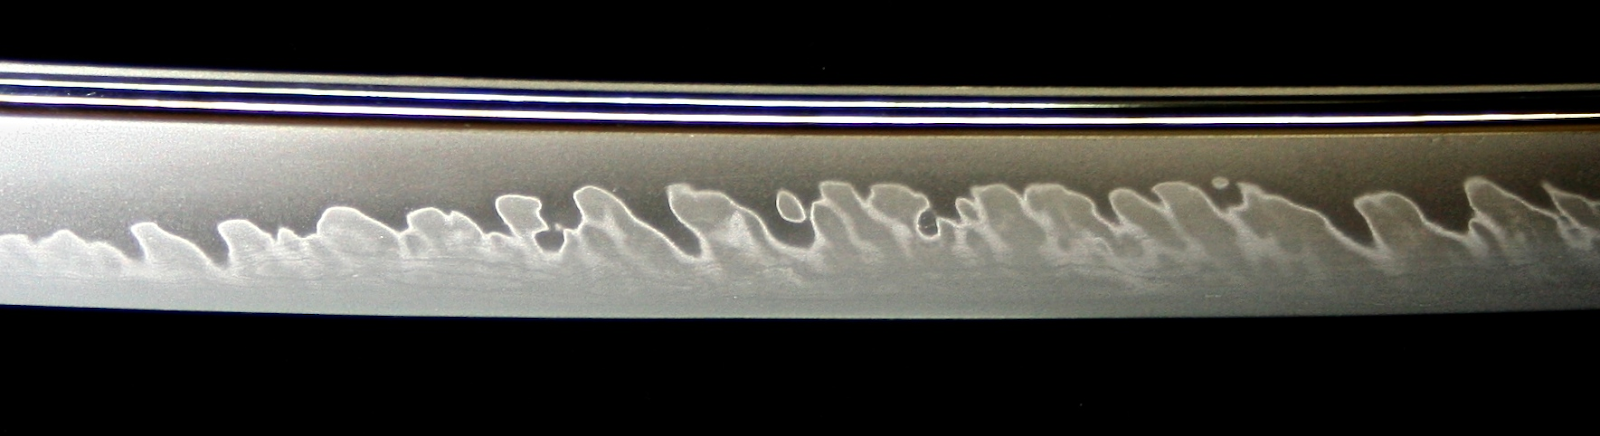
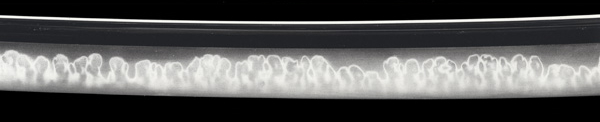
Why was the Japanese sword sharpener of higher effective rank than the swordsmith? I haven’t seen documentation from back in the day confirming it, but I suspect it is because the sharpener turns the swordsmith’s plain steel blade into a thing of jewel-like sculptural beauty that almost seems alive. One only has to see a sword blade fresh from the swordsmith’s shop and compare it with the same sword after the sharpener’s ministrations to understand.


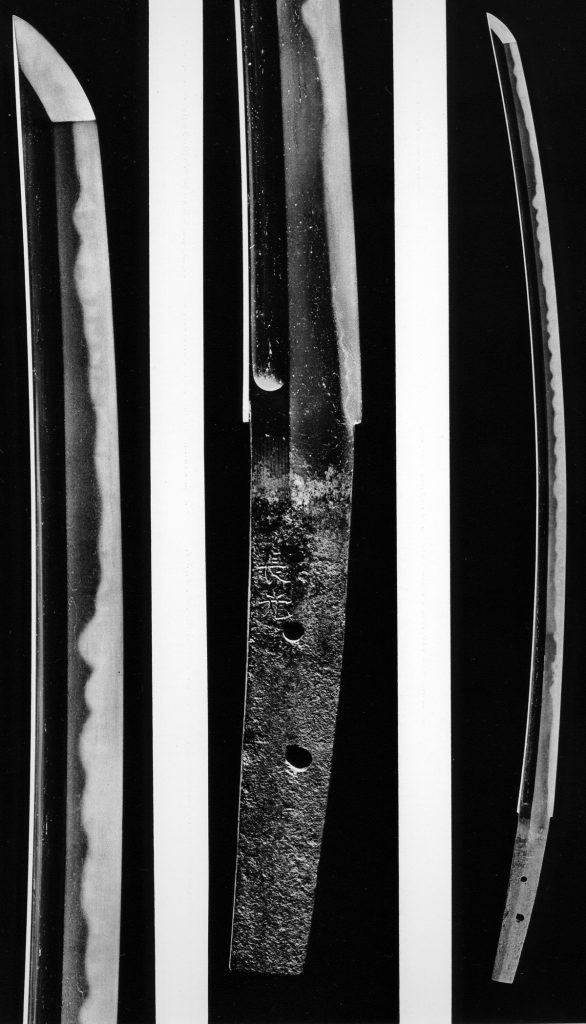
I have even witnessed a skilled sword sharpener create a beautiful hamon (a pattern formed on the edge of a sword by the steel’s crystalline structure) on a sword forged by a famous smith that had lost the crystalline structure necessary to form an actual hamon. While a deception of sorts, the intention was not to deceive for profit (the sword was donated to a museum), but to return an unusual and historically important sword to its former beauty, a glory that would have been lost but for the sword polisher’s exceptional skills.
If we liken the swordsmith with his forge and hammer to the quarry worker cutting marble from the mountain, then the sword sharpener is Michelangelo cutting the Pietà with his chisels and files. Both craftsmen work on the marble and blade respectively, and both are essential. The sculptor uses steel to bring stone to life, while the sword sharpener uses stone to bring steel to life.
But despite these artistic abilities, modern “Sword Polishers” have no interest in and put forth no effort to actually make a sword blade cut well. Indeed, in some cases, they actually intentionally dull the blade so it can’t cut, thereby making it safer. This intentional vandalism is called “habiki.”

The Key Point
Here’s the key point your humble servant wants Beloved Customers and Gentle Readers to grasp: Despite the long years of apprenticeship, advanced skills learned, and gallons of red sticky stuff unintentionally leaked by sword sharpeners, the frank sword sharpeners I have spoken with all admitted that, of all the craftsmen in Japan that used edged tools, woodworkers like carpenters, cabinetmakers, and joiners routinely create sharper blades despite those blades not appearing to be as sharp as swords. This is consistent with my direct experience of handling over 70 swords before and after being worked on by sword sharpeners.
While there is great pleasure to be found in polishing a plane or chisel or knife blade to levels of great beauty, do not make the mistake of equating appearance with performance.
Appearance aside, and looking strictly at cutting performance, will a chisel or plane or knife blade skillfully sharpened on a 15,000 grit stone cut better and longer than if sharpened on an 8,000 grit stone? In the case of woodworking blades and kitchen knives, no it won’t. In fact, due to higher levels of friction the higher degree of polish produces in the cut, it will certainly not cut wood as well. More on this subject later.

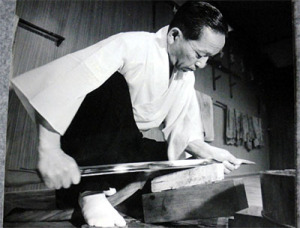
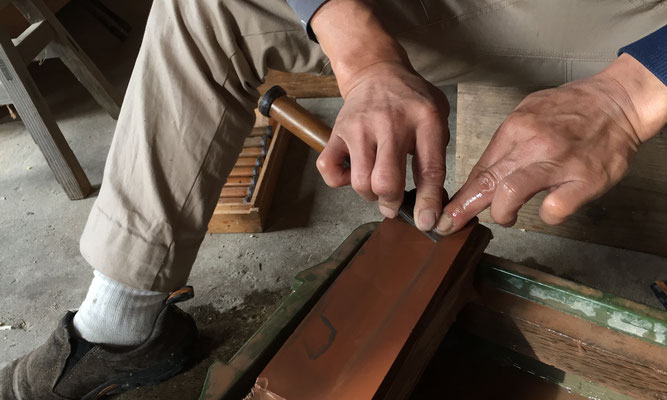
Keep in mind that the stones used to apply the beautiful polish and accentuate the hamon on Japanese swords are different from those used to sharpen woodworking tools. For instance, the uchigumori stones sword polishers use are small slices of soft stone glued to paper using urushi lacquer adhesive, and are only 3,000~5,000 grit. These small slips of stone are rubbed on the sword blade using thumb and fingertips.
Here is a link to a blog showing Mr. Fujishiro, son of one of the sword sharpeners I employed back in the day, making and using these thin slices of stone.
Tools are designed to perform specific tasks. Although it could do the job, more or less, you wouldn’t use a crescent wrench to stir spaghetti sauce on the stovetop would you? A longish spoon just might work better.
Does a sword’s edge need to be extremely sharp to cut the enemy effectively? No, it doesn’t because the sword’s geometry, blade orientation, speed, impact force, and the swordman’s technique drive its cutting effectiveness much more than simple sharpness. So sword sharpeners in Japan, and probably most of the world too, have always been more focused on edge durability, resistance to chipping, and appearance than absolute sharpness. In modern times, when swords are almost never used to cut living flesh outside of Saudi Arabia, the blade’s appearance may be critical, but sharpness is not a practical concern.
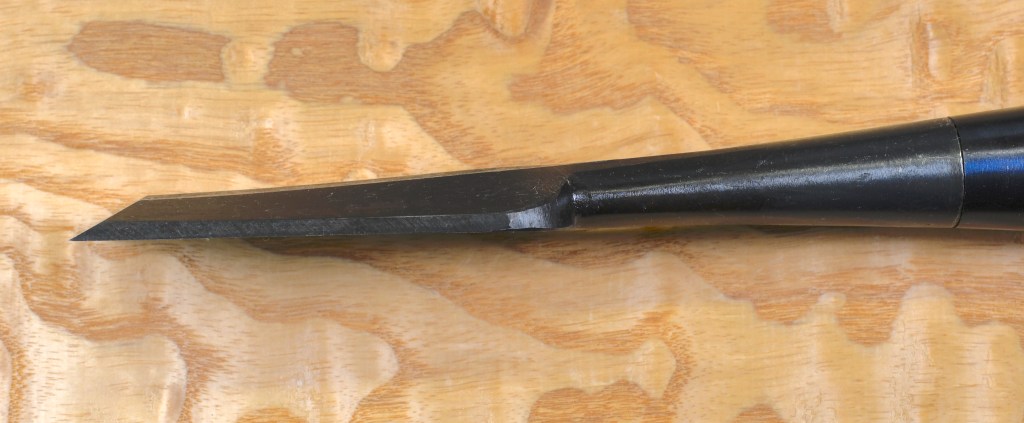
Another example is food preparation knives. A chef’s knife looks terribly sharp, and as it slices tomatoes and fillets fish we can see that it cuts well. But how sharp is it really? In comparison with a joiner’s plane blade, not really that sharp. But both tools are exactly suited to the job assigned them.
The “willow-leaf” yanagiba chef’s knife shown above is most effectively used in slicing or drawing motions, much as expert swordsmen use their weapons against enemies. In this style of cut, a smooth and uniform cutting edge does not perform as well as a more ragged, serrated edge as seen at the microscopic level. Therefore, there is little if any practical benefit (assuming beauty is not practical) to be obtained by sharpening a kitchen knife beyond 1,000~3,000 grit. In fact, at least in Japan, these are the upper-limit of stones in daily use by professional chefs of all varieties. Yes, and that includes sushi chefs.
But don’t misunderstand my point: In the case of both swords and yanagiba hocho knives, the bevel angle must be correct for both the blade being used and the material being cut, and the microscopic edge must be a clean intersection of planes. If you get these two factors wrong, a crescent wrench might work just as well.
The other point I want to make is that, while I enjoy using high-level skills to give a beautiful appearance to extremely sharp blades, such a blade will not perform better than an identical blade of equal sharpness but with a less polished appearance, and the extra time and money spent on improving outward appearance is wasted on bread and butter work.
Since easily-deceived, morally-challenged Hollywood celebrities have the answers to all the world’s problems (at the cost of other people’s money, labor and freedom, of course) perhaps our quest for the sharp edge can benefit from the wisdom of the famous Latin lover ‘Nando, Tinseltown’s most elegant star. ‘Nando once shared his father’s advice that it is “better to look good than to feel good.” Accordingly, perhaps we should all go crazy nuts and polish our blades like beautiful but dull museum swords and wear waistcoats and cravats as we cut sliding dovetails and plane door stiles. After all, one must be ready for every photo op. In this way, our woodworking blades may be worthy of ‘Nando’s highest praise: “You, dahling, you look mahvelous, absolutely mahvelous!”

No, on second thought, while there is much one can learn from Fernando’s elegant philosophy, his standards of beauty and suffering are too high for me. I would rather be a simple joiner or cabinetmaker in stained work clothes that has the ability to make a blade exceptionally beautiful but chooses not to expend the time and cost required to do so most of the time, rather than someone who doesn’t because they can’t.
Although Fernando has a pressing appointment for a tango lesson (discretion prevents me from naming the young lady he will be pressing) and won’t be providing further insight today, our adventures in sharpening Japanese woodworking tools will continue in Part 5 of this series.
Let’s meet at Tsukiji for sushi afterwards. Until then, I have the honor to remain,
YMHOS
If you have questions or would like to learn more about our tools, please click the “Pricelist” link here or at the top of the page and use the “Contact Us” form located immediately below.
Please share your insights and comments with everyone in the form located further below labeled “Leave a Reply.” We aren’t evil Google, fascist facebook, or treacherous TikTok and so won’t sell, share, or profitably “misplace” your information. If I lie may all my dance steps turn to stumbles.


- Sharpening Japanese Woodworking Tools Part 1
- Sharpening Part 2 – The Journey
- Sharpening Part 3 – Philosophy
- Sharpening Part 4 – ‘Nando and the Sword Sharpener
- Sharpening Part 5 – The Sharp Edge
- Sharpening Part 6 – The Mystery of Steel
- Sharpening Part 7 – The Alchemy of Hard Steel 鋼
- Sharpening Part 8 – Soft Iron 地金
- Sharpening Part 9 – Hard Steel & Soft Iron 鍛接
- Sharpening Part 10 – The Ura 浦
- Sharpening Part 11 – Supernatural Bevel Angles
- Sharpening Part 12 – Skewampus Blades, Curved Cutting Edges, and Monkeyshines
- Sharpening Part 13 – Nitty Gritty
- Sharpening Part 14 – Natural Sharpening Stones
- Sharpening Part 15 – The Most Important Stone
- Sharpening Part 16 – Pixie Dust
- Sharpening Part 17 – Gear
- Sharpening Part 18 – The Nagura Stone
- Sharpening Part 19 – Maintaining Sharpening Stones
- Sharpening Part 20 – Flattening and Polishing the Ura
- Sharpening Part 21 – The Bulging Bevel
- Sharpening Part 22 – The Double-bevel Blues
- Sharpening Part 23 – Stance & Grip
- Sharpening Part 24 – Sharpening Direction
- Sharpening Part 25 – Short Strokes
- Sharpening Part 26 – The Taming of the Skew
- Sharpening Part 27 – The Entire Face
- Sharpening Part 28 – The Minuscule Burr
- Sharpening Part 29 – An Example
- Sharpening Part 30 – Uradashi & Uraoshi


Please Leave a Reply