
Do what you can, with what you have, where you are.
Theodore Roosevelt
Sharpening can be a stuff-intensive process, and since portability is always a factor in your humble servant’s case, I strive to reduce the number of accouterments to the barest minimum. The following is a list of some gear, besides sharpening stones, that I am confident will prove useful whether in Beloved Customer’s workshop or the jobsite.
I will first list the gear needed for general sharpening either in the workshop or the field. At the end of this article that I have listed a minimal set of gear for use specifically in the field where space and weight might make it inconvenient to carry the heavier/bulkier general set of sharpening gear.
A General Set of Sharpening Gear
The following is a list of tools and equipment I think are indispensable for sharpening Japanese woodworking tools in general and in many, but not all, circumstances. I have not included some tools that may be necessary for doing “uradashi,” i.e. “tapping out” the hollow-ground urasuki of Japanese plane blades. So here we go.
- Sharpening Stones
- Stone Base or Holder: A wooden base with a wedge to secure stones is the old standby for supporting sharpening stones above the benchtop or ground, but repeated wetting and drying and the resulting expansion and contraction may compromise a wooden base over time. For my synthetic stones I have come to prefer the commercial bases with twin metal rods and rubber feet. They are unromantic, but are durable, stable, non-slip, grip the stone tightly without breaking it, and work well anywhere. If you decide to make and use a wooden base, I highly recommend Ipe wood because it is stable, unaffected by water, won’t rot, and bugs hate it.
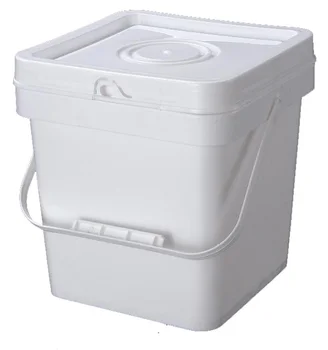
2. Soaking bucket for stones: A medium size plastic or steel mop bucket (not the heavy industrial unit with rollers) is best for soaking stones because they are durable, and their more or less square/rectangular shape is superior to round buckets for leaning stones on end against the inside walls. You don’t want to stack the stones on top of each other if you can avoid it. Any durable bucket that doesn’t leak will work, but a tightly-fitting lid is a big advantage. You will need to soak all but your diamond plate and finishing stones in this bucket before each use.


I soak my synthetic stones 365 days a year. I close the lid to prevent evaporation and to keep out mosquitoes and woke zombies, and add either washing soda, borax or a few drops of Simple Green ProD5 concentrate to the water to prevent bugs and algae from growing when I won’t be using the stones for a while. Simple Green is a better bug/algae killer, but Borax has the advantage of making the water slightly alkali which helps prevent rust in my blades during sharpening.
Some stones use a magnesium-based binder that can dissolve and weaken them if left soaking for long periods of time. Please refer to the manufacturer’s instructions.
3. Glass Plate: 9mm~12mm thick piece of float glass. This is used to true the faces of waterstones when they become distorted through use. The piece I use is 60mm x 30mm x 10mm. This plate can be used for many other purposes including checking the fettle of your plane’s soles. I leave this in my workshop. We will discuss how to use this in future posts in this series, God willing and the creek don’t rise.
4. Working Surface: If working outside, a Japanese craftsman will place his stone holder directly on the ground or concrete slab. A craftsman that works inside a shop will often have a wooden or plastic box with a board spanning the narrowest dimension forming a bridge. The stone rests on this bridge, often with a wet towel between board and stone to prevent slipping. This box, called a pond, catches water and mud dripping from the stones. The ideal situation is a board spanning a sink with a faucet of running water. When away from the workshop, I prefer to place a piece of fiberglass-reinforced rubber (EPDM) roofing membrane on a truck’s tailgate or stack of boards or gypboard at a jobsite. I can roll-up this lightweight, tough, and absolutely waterproof mat and stuff it into my toolbox for easy transport. In my workshop, I use a large plastic cutting mat placed on my workbench, but any waterproof non-slip surface will work. No need to get fancy. My stones and sharpening gear are stored under my workbench close at hand.
5. Water Source: While sharpening, you will frequently need water to wet your stones and rinse blades. If you work at a sink, use the faucet. If you work outside, a garden hose works great. Some people, mostly knife sharpeners who seldom use stones finer than medium grit, will scoop water from their pond or bucket to wet their stones. However, since stone slurry drips into the pond, this water will always contaminate stones with the grit from rougher stones, making it difficult to remove all the scratches left by the previous stone. To avoid this contamination, always use clean water for wetting and rinsing.
Some people prefer a spray bottle to add water, but spray bottles wet things I prefer to keep dry, so a better choice, in my humble opinion, is a plastic bottle such as a dishwashing soap bottle or a plastic lab wash bottle with a bent tube coming out the top. Almost any plastic squeeze bottle will work.
Tap water contains chlorine in all but backward countries, and chlorine accumulates and accelerates rust, so I use distilled water in my wash bottle, and add washing soda or borax to adjust the water’s PH, a technique I learned from sword sharpeners.
Some people add just a bit of liquid lye to their water to adjust the PH. This chemical can be purchased from industrial cleaning supply companies. Too much will damage your skin, so be careful. Also good for keeping Iron Pixies in the shadows.
6. Sharpening Station and/or Sharpening Pond: I don’t use a sharpening pond, and don’t believe them to be essential, but several practical options are illustrated below.


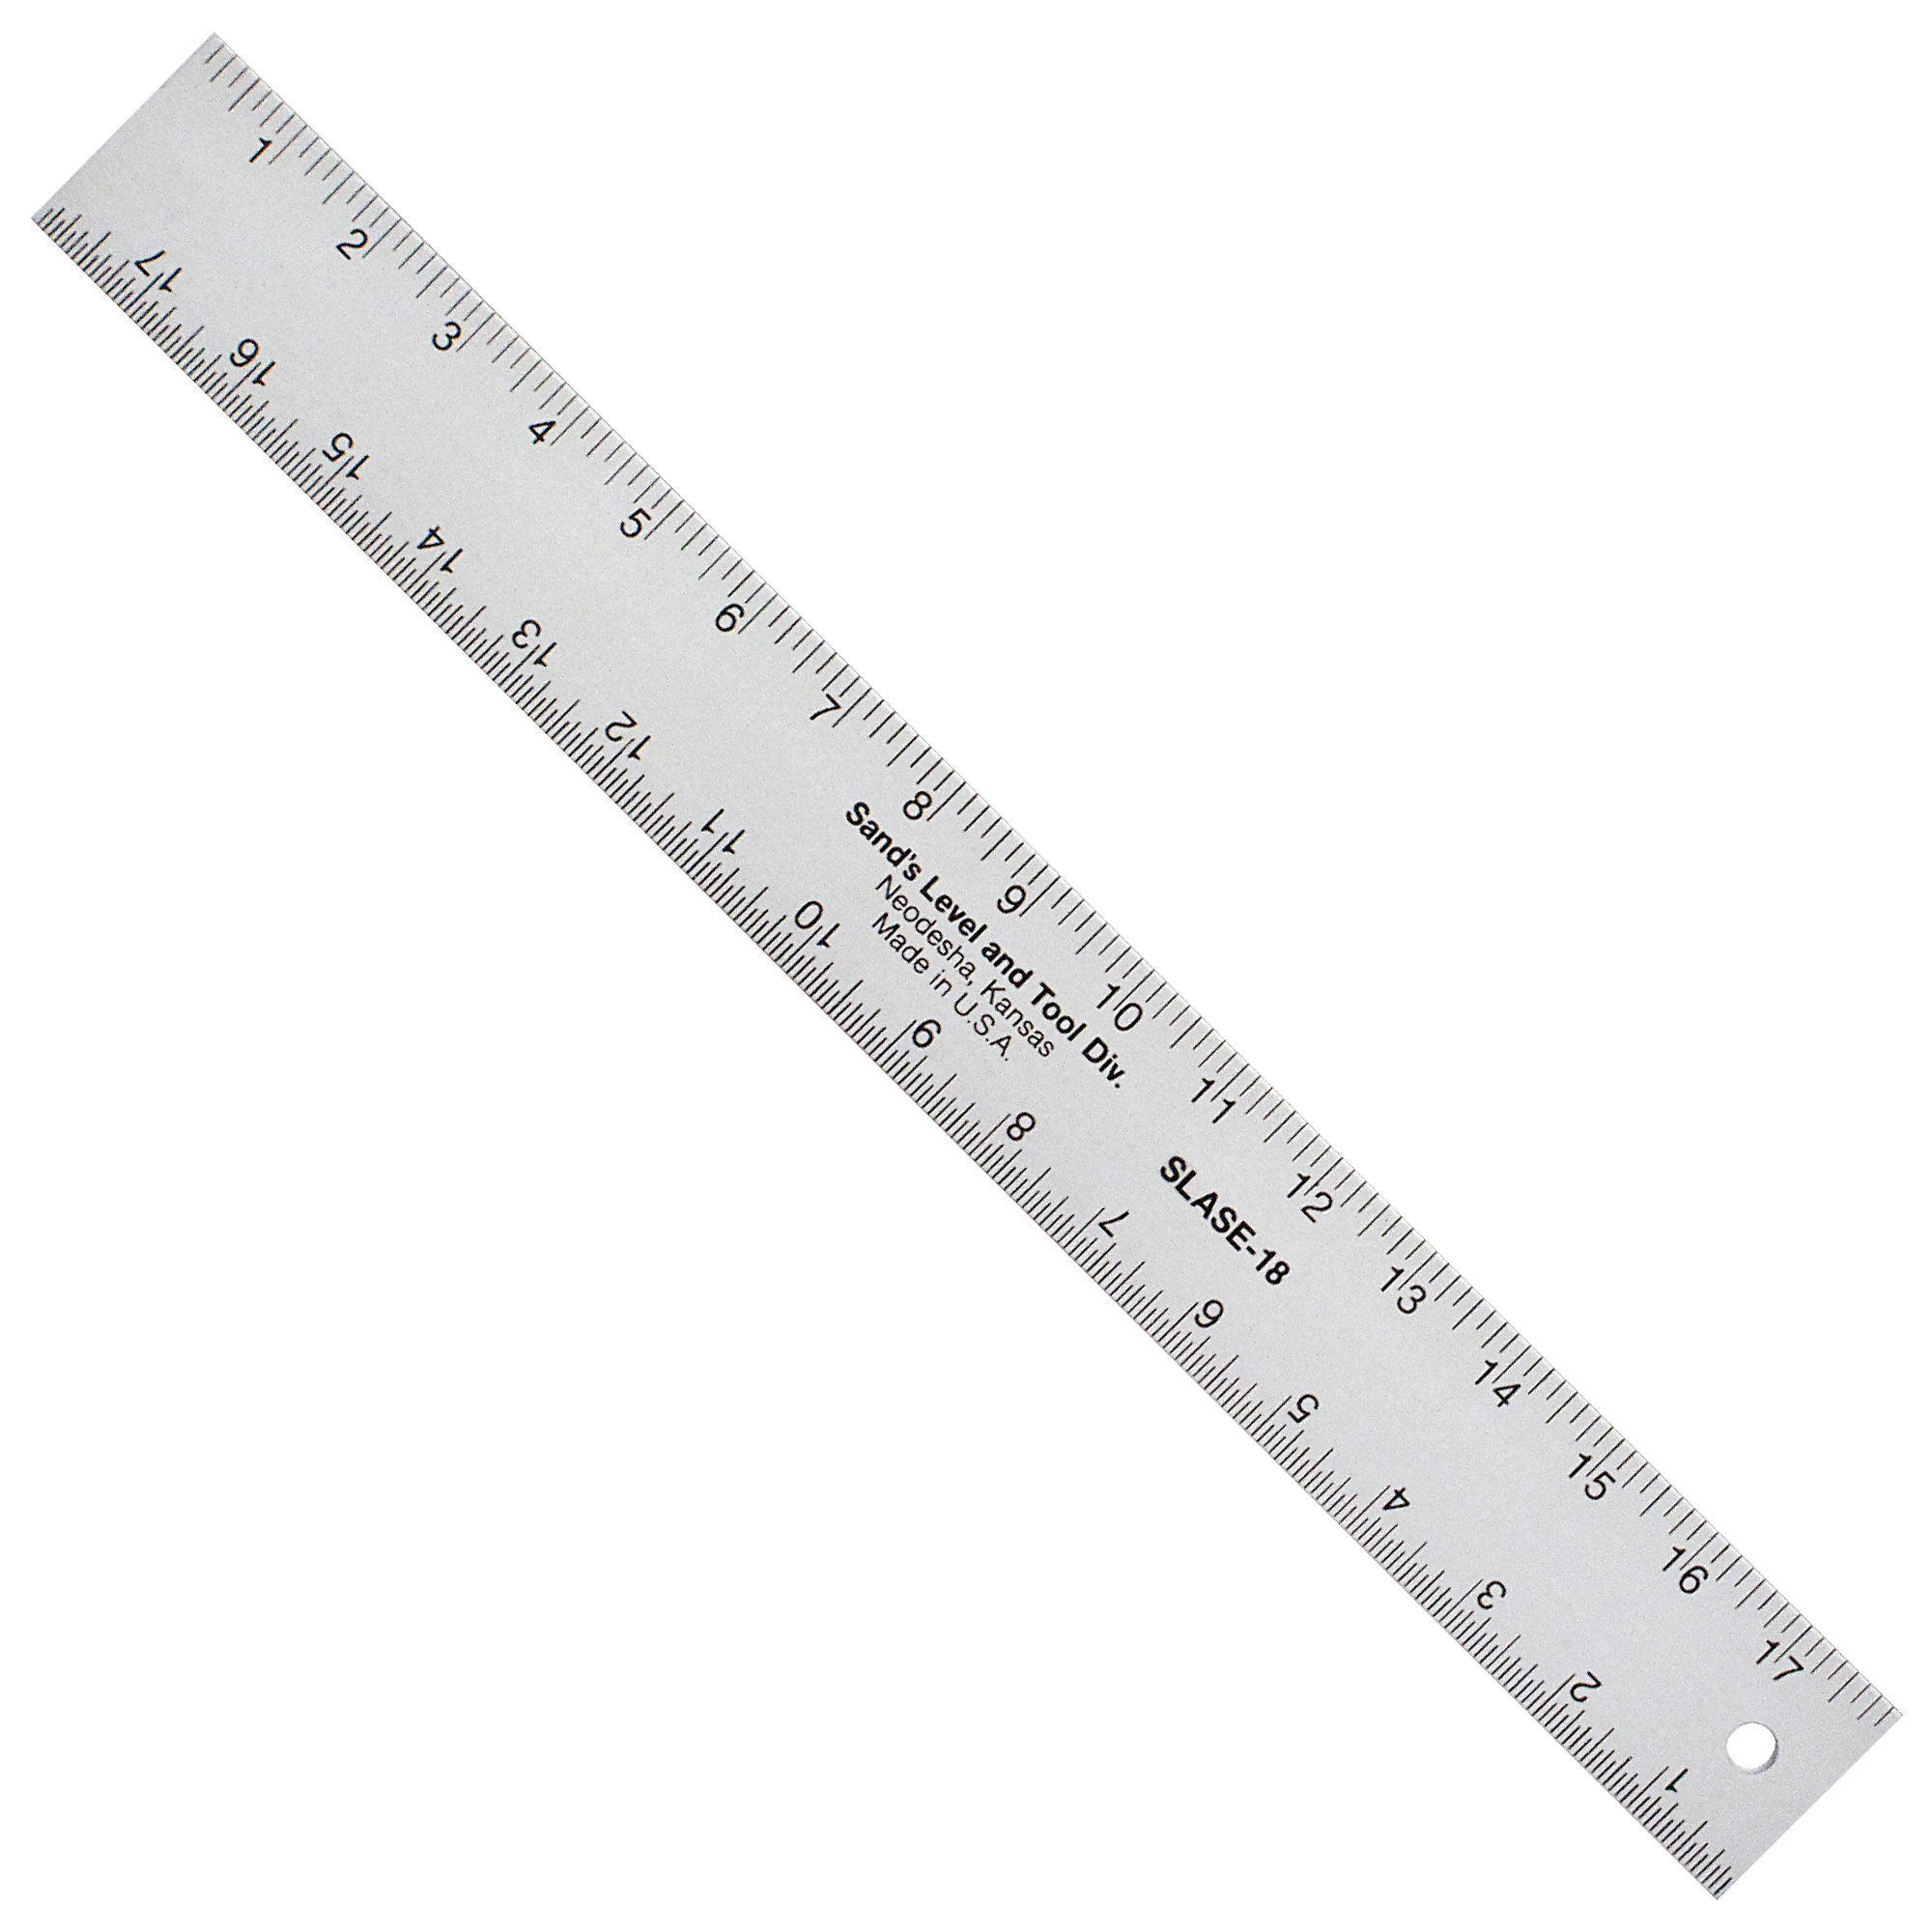
7. Stainless steel straightedge: Use this to check stones for flatness and wind, and cutting edges for straightness. Don’t use a plain steel one unless you want to give the iron pixies skulking under your workbench great joy. The thinner the better. The thick blades used in combo squares are difficult to use in less than ideal light
8. Wiping materials: You will need something to clean and dry your blades during sharpening sessions. Rags work well for wiping and drying blades, and can be washed and reused, but be careful to avoid cross-contamination. Paper towels are most effective and convenient in my experience, but they cost money and make garbage. Decisions, decisions…
9. Scrub brush: A clean stone is a happy stone, as are bases, buckets and glass plates, all of which have grooves and scratches and holes where grit can hide. Scrub brushes are great for digging out this contaminating grit. Palm fiber brushes are ideal because the bristles are fine and grit does not get embedded into the bristles as much as plastic brushes.
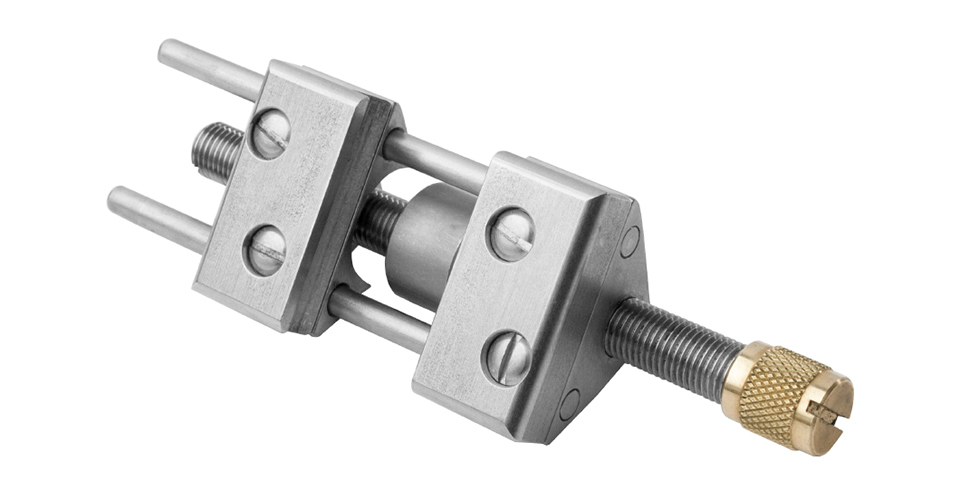
10. Honing Guide: This tool is optional. I hesitate to recommend these jigs because they can easily become a crutch preventing Beloved Customer from becoming proficient at freehand sharpening. However, these types of jigs make it much easier and quicker to shape blades to the desired angle on rough stones, especially when correcting a double-bevel or bulging bevel to a more useful single, flat bevel. Eclipse-style honing guides work well. The die-cast versions are inexpensive. Lie-Nielson makes a terribly expensive version machined from stainless steel that I am fond of. Jigs won’t work for all blades, but it is worth having one.
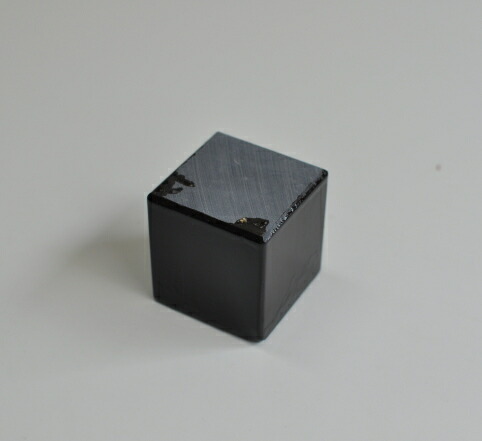
11. Nagura Stone: More details will be included in next post in this series.
12. Bevel Angle Gauge: I’ve mentioned this tool in previous articles in this series, but list it here because it is critical. Use it to check the bevel angles of your chisels and planes during every sharpening session to ensure they don’t become too low weakening your cutting edges and inviting premature chipping. It can be made of any material that resists corrosion such as plastic, aluminum, stainless steel, or brass, my favorite because brass repels pernicious pixies.

Minimal Set of Sharpening Gear
Sometimes, especially when working at remote jobsites, weight and/or space may impose physical limits on the tools we can carry with us. The following is a list of the minimal set of sharpening tools I bring in these situations.
2. Stone Base: At the jobsite the stability this tool provides becomes more critical than ever, but if an ultra-light set of tools is needed, then it can be eliminated by placing the stone directly on a rubber sheet.
3. Soaking Container: There are many potential solutions for soaking stones in a minimalist or ultra-light situation, but I will describe just a few here. If clean water is available at the jobsite (water coming from a newly-installed pre-flush plumbing system may not be clean, and immediately post-flush it may contain lots of chlorine used to sterilize the pipes and fittings), then the minimalist solution I employ is to use a dry plastic bucket to carry tools, including sharpening gear, to and from the jobsite. I then add water to one bucket in the morning. Another option is to scrounge a joint compound bucket or paint bucket and leave it at the jobsite. But unless I have a gang box or other trustworthy tool lockup available at the jobsite, I still may need to transport at least one wet sharpening stone to and from the jobsite each day. The ultra-light solution I sometimes employ is to carry my waterstone(s) in a durable plastic container with a watertight lid, such as the thinner (6cm) rectangular containers by Tupperware. Water can be added at the jobsite to keep the stone(s) soaked and ready to rock-n-roll. And with the lid closed, dirt and dust can’t get in. An even lighter option is a heavy plastic bag. I place the stone(s) in the bag and carry it in my tool bag. At the jobsite, I can add water and close the bag with a thick rubber band to soak the stone(s). But be forewarned that these bags will not protect the stones, and the stones will make holes in the bag at the worst possible time.
4. Working Surface: I use the fiberglass-reinforced rubber roofing membrane described above. Tough and absolutely waterproof, it also works great for sitting on and even spreading out one’s lunch at the jobsite when more refined facilities and servants are unavailable (ツ).
5. Water Source: Clean water is necessary even in the field to wet the stones and to wash mud off tools. To save space, I use a small plastic squeeze bottle with a tightly closing lid that originally contained ketchup. If clean water is available at the jobsite, I carry it in my toolbag empty.
6. Stainless Steel Straightedge: See Item 7 above. I use a thin, flexible, lightweight one in the field.
7. Wiping Materials: A clean cotton rag and a some folded paper towels work well.
8. Scrub Brush: I always bring my “Baby Turtle” scrub brush. It’s lighter in weight than a plastic brush and comes in handy for tasks beyond sharpening too.
9. Nagura Stone: Just in case I need to get an extra-fine finish.
10. Brass Bevel Angle Gauge (on a red string around my neck)
The selection of stones I use at the jobsite will depend on the work planned for that particular day, but the minimal set is a 400 grit diamond plate/stone, a 1,000 grit synthetic waterstone, and a 6,000 or 8,000 grit synthetic finishing stone. If I anticipate a lot of sharpening, and if weight is not critical, I will bring two 1,000 grit stones to ensure I have 4 flat sharpening surfaces ready to rock-n-roll first thing thereby reducing the need to spend time flattening stones at work. I can also use them to flatten each other. If I need to do some fine finish planing, such as when doing door modifications/installations, I will bring a 10,000 grit synthetic waterstone. And of course I always carry a Tsushima Black Nagura stone.
In the next post in this romantic series of adventures in sharpening will focus on the important Nagura stone. Stay tuned for muscled thews and busted bodices!
YMHOS

If you have questions or would like to learn more about our tools, please click the “Pricelist” link here or at the top of the page and use the “Contact Us” form located immediately below.
Please share your insights and comments with everyone in the form located further below labeled “Leave a Reply.” We aren’t evil Google, fascist Facebook, or thuggish Twitter and so won’t sell, share, or profitably “misplace” your information. If I lie may the fleas of a thousand camels infest my armpits.
Links to Other Posts in the “Sharpening” Series
- Sharpening Japanese Woodworking Tools Part 1
- Sharpening Part 2 – The Journey
- Sharpening Part 3 – Philosophy
- Sharpening Part 4 – ‘Nando and the Sword Sharpener
- Sharpening Part 5 – The Sharp Edge
- Sharpening Part 6 – The Mystery of Steel
- Sharpening Part 7 – The Alchemy of Hard Steel 鋼
- Sharpening Part 8 – Soft Iron 地金
- Sharpening Part 9 – Hard Steel & Soft Iron 鍛接
- Sharpening Part 10 – The Ura 浦
- Sharpening Part 11 – Supernatural Bevel Angles
- Sharpening Part 12 – Skewampus Blades, Curved Cutting Edges, and Monkeyshines
- Sharpening Part 13 – Nitty Gritty
- Sharpening Part 14 – Natural Sharpening Stones
- Sharpening Part 15 – The Most Important Stone
- Sharpening Part 16 – Pixie Dust
- Sharpening Part 17 – Gear
- Sharpening Part 18 – The Nagura Stone
- Sharpening Part 19 – Maintaining Sharpening Stones
- Sharpening Part 20 – Flattening and Polishing the Ura
- Sharpening Part 21 – The Bulging Bevel
- Sharpening Part 22 – The Double-bevel Blues
- Sharpening Part 23 – Stance & Grip
- Sharpening Part 24 – Sharpening Direction
- Sharpening Part 25 – Short Strokes
- Sharpening Part 26 – The Taming of the Skew
- Sharpening Part 27 – The Entire Face
- Sharpening Part 28 – The Minuscule Burr
- Sharpening Part 29 – An Example
- Sharpening Part 30 – Uradashi & Uraoshi
Leave a comment