
Everything in life is risk, from the minute you wake up in the morning and stick your tongue into a toaster.
Anon
Introduction
In this article your most humble and obedient servant will present an obscure fact about traditional Japanese handsaws I call the “Mystery of the Burnt Blade,” as well as a related psychedelic conundrum called “Black Light!”
I will also provide a brief description of how one of the last sawsmiths in the world hand-forges his custom handsaws, and explain how these two mysteries are linked to this ancient, even magical, process.
If you have a metallurgical psychologist’s hat, as I do, perhaps one made of aluminum foil, or better yet, brass with attached wires, bells or baubles, now is the time to secure it to your “seat of knowledge.”
Mysteries
Over the years we have wrestled with several tool-related enigmas, including such notable head scratchers as: “The Mystery of Steel,” “The Mystery of the Brittle Blade,” and “The Mystery of the Scratched Blade.” You may recall that once we even crossed the center median and swerved drunkenly into the path of an esoteric conundrum called “Supernatural Bevel Angles.” Yeeehaw! That was a close one!
In a world boiling-over with mysteries, however, prioritizing them is sometimes vexingly difficult. For example, is the “Meaning of Life” more important than “Were Bert and Ernie in Love?” Or is the question “When will the Entwives return from shopping at the mall?” weightier than “Are the four surviving Nazgul running just Shat Fransisco or all of Calipornia?”
Cogitating such mysteries has worn my thinking cap down to just a button and a bit of lint, but before I forget (I’m supposed to take some bitter little green pills for my memory, but keep forgetting) I would like to address the subject of this article. As mysteries go, it’s nowhere near as high on the priority list as the whereabouts of the Nazgul’s missing PAC funds, but nonetheless it still puzzles many. Being exceptionally perspicacious, Gentle Reader may find a worthwhile gem or two hidden among the rubble.
And the story goes something like this.
The Story

The curtain on this mystery doesn’t open on a moonless night, black and ragged as a Chicago politician’s soul, concealing a MacBethan circle of wart-covered witches chanting incantations while stirring a cauldron bubbling over purple flames.
Nor is the scene of this mystery a locked cell in a curiously vacated wing of Gotham’s Metropolitan Correctional Center where the guardsmen all nap cherubically, security cameras have all malfunctioned magically (perhaps due to a “Nox” spell?), and where a millionaire child nookie bookie has shuffled off his mortal coil by hanging himself with a bedsheet after breaking his own neck. Harry Houdini must be proud!
No, the curtain on this mystery opens of an early evening in Tokyo almost 40 years ago in front of a rickety old wooden building facing a busy street erected in the warm ashes produced by 174 B-29s on the nights of March 9th and 10th 1945 when the city and many souls burned brightly.
Gentle Reader, we find ourselves in front of the shop and residence of a small, pipe-smoking saw sharpener and his family. They live on its second floor, with a workshop on the ground floor adjoining a dirt-floored doma with a single rickety sliding door opening to the street. There’s space in the poorly lighted entry for perhaps three people who don’t despise each other to stand, but no more. The shop space doesn’t have shelves or glass cases, just teetering stacks of newspapers and magazines wrapped in twine crowding in from the walls permeated by the perfume of oil and steel filings. I don’t know about you, but it’s an atmosphere I love.
Prior to that time my experience with Japanese handsaws was limited to inexpensive hardware store products with bright shiny blades. I didn’t know much about who made them or how they were made, but they seemed to work OK. On the day of this mystery I was looking for a more specialized saw for ripping 6X6 timbers, one not sold by the average hardware store, so I visited the shop of this professional saw sharpener.
As I opened the rickety wood and glass sliding door and called a greeting the little saw sharpener came out from the back, kneeled seiza-style on the raised floor of his workspace, and smiled like a wood carving of a buddhist saint.
After introductions, I described the job I needed to do, the type of wood I had to cut, and the type of saw I thought would work best. He made a thoughtful face as he sorted through his stock of saws in his mind, bobbed his head decisively once, stood up, and without saying a word went into the back. He returned with a saw blade wrapped in newspaper.
When I unwrapped the blade (no handle) my heart sang as I gazed upon its unadorned, elegant lines and subtle beauty. I could feel the blade quivering with excitement at the prospect of being fed some yummy wood after a boring confinement in the back of the shop. It was a 300mm single-edged kataba rip saw with the brand “Nakaya Genji” hand-chiseled into the steel blade.
The saw sharpener told me it was made in Tokyo (yes there were still many sawsmiths living and working in Tokyo back then) by a reputable and skilled blacksmith, but not a famous one, that it was a hand-forged, top-quality working tool, one he had sharpened himself, and that he thought it would satisfy my requirements.
The only problem was cost, about thrice what I had budgeted, but pretending I knew what I was doing, I flexed the blade, held it up to the dim light to check the plate for untoward distortions, and the teeth for cavities. I even pressed my palm against them to check their sharpness. After all this posturing I agreed with the saw sharpener that it was a fine blade. With one reservation….
Mysterious Colors

Now, at the time of my visit to the little saw sharpener’s curious shop I didn’t have enough experience or specialized knowledge to ask intelligent questions about the steel and techniques used to forge and tooth the saw, but although I was ignorant, my eyeballs were still not “fushiana” (“knot holes 節穴”), as the saying goes in Japanese, for they noticed something that wasn’t quite right.
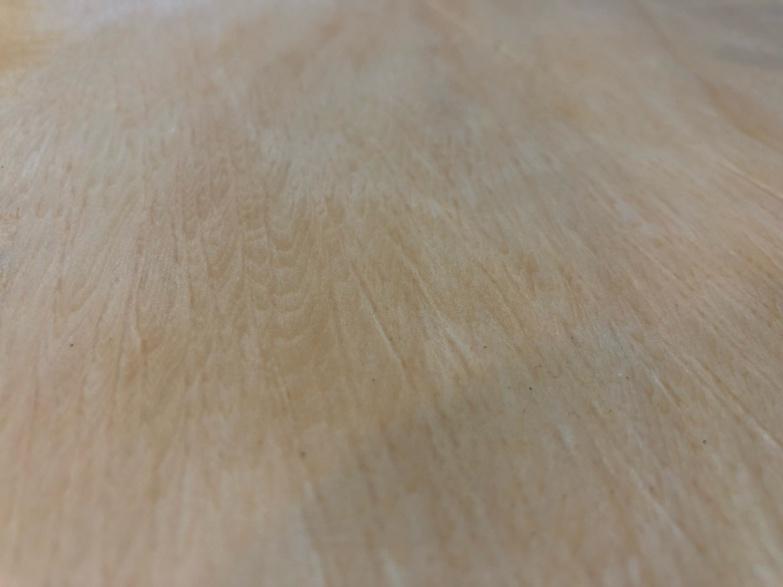
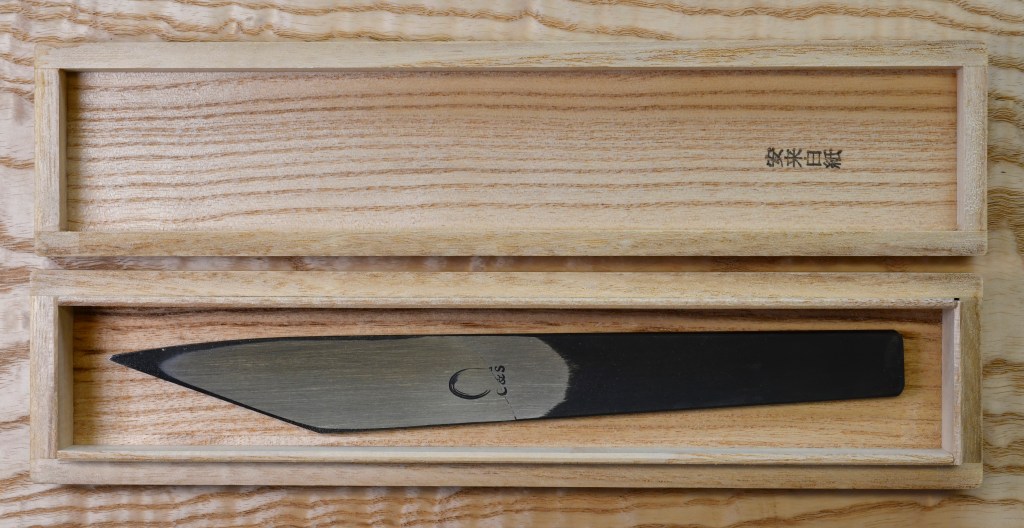
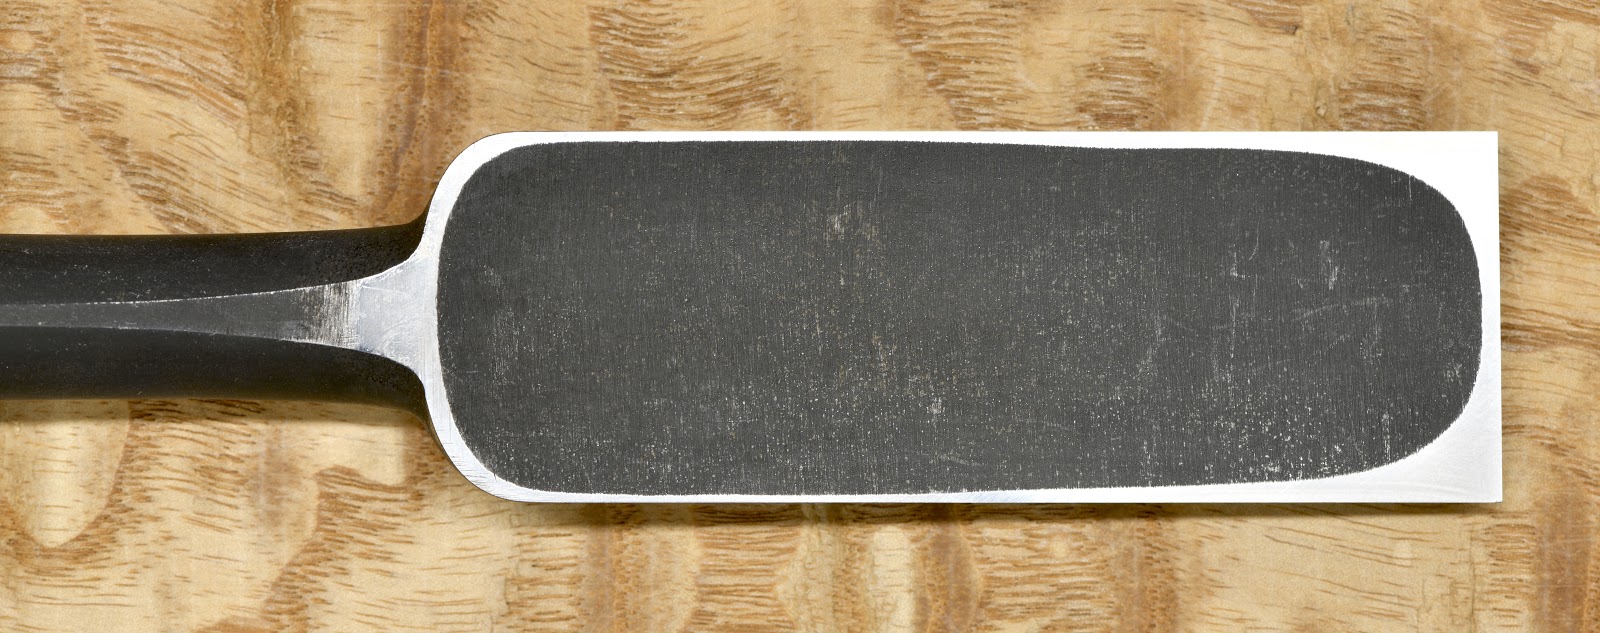
What was this smudge on the saw’s face that shocked me but did not faze a professional saw sharpener? It was a localized discoloration at the center of the blade, a vaguely-shaped area golden brown in color, possibly indicative of the blade having been exposed to high temperatures, perhaps hot enough to soften the steel, a serious defect indeed in the case of chisel and plane blades.
The saw sharpener was not impressed in the least with my knothole’s perception, but exercising extreme patience, gave me a partial explanation.
As he clarified at the time, and as I was able to confirm in more detail during the intervening years, this area of color is commonly seen on the plates of quality saws made in Eastern Japan, which included Tokyo where I purchased the saw in question, but it is not commonly seen on saws made in Western Japan, which have simple bright steel blades instead. Likewise, inexpensive, mass-produced handsaws, including exchangeable-blade kaeba saws, never have this colorization. Ahah! The thot plickened.


So what I deduced from his comment was that this spot of color is neither strange nor suspicious, but is actually desirable, indeed seen as an indicator of quality, depending upon geography. Sound hinky to you? It did to me too.
An Historical Example
Years ago the following example was related to me by a reliable source with personal knowledge, and I while I am extremely fond of daring fashion statements, I have not seen it with my own knotholes and so won’t accept any bets about its veracity that involve a forfeit of wearing lady’s underwear on my head out in public again, so please don’t offer.
From 1639 to 1834 Japan was closed to foreign countries with the sole exception of Holland, and even then access was severely limited.
In the early 1800’s a Dutch doctor purchased a bunch of Japanese woodworking tools which he took back to Holland. Those tools recently returned to Japan and observers noted they had the same appearance as modern handsaws saws made in Eastern Japan, evidence that this colorization is not just a modern feature of Japanese handsaws.
How to Make a Traditional Japanese Handsaw
In order to explain the metallurgical roots of the Mystery of the Burnt Blade I humbly beg Gentle Reader’s kind indulgence as I relate the following summary of the process of making a hand-forged professional-grade handsaw in Eastern Japan as explained to me by Nakaya Takijiro Masayoshi, one for the few remaining master sawsmiths in the world. Any errors are the sole responsibility of your humble servant.


Steel Selection
Saw blades do not require high levels of carbon. Indeed, too much will make the teeth fragile. Shirogami Saw steel and Shirogami No.2 steel have been popular for many years, and Takijiro uses S-2, but he prefers Yellow Paper steel with its lower amount of carbon for the extra toughness it affords.
With materials now in hand, let’s get to smithing.
Cutting the Plate
The sawsmith first cuts the steel plates for a run of saws using manual shears. These are not embroidery shears held in one hand, but rather a hand-powered single-bladed mechanism operated while sitting on the floor.
Initial Forging
Using a gas/charcoal forge, springhammer, hand hammers, and rectangular steel anvil he then heats and shapes the plates.
At the conclusion of this stage the saw plate is an approximately saw shaped piece of thin steel, burnt in appearance and warped. The iron tang will be attached later by forge-welding.


Annealing/Normalization
The next step is to anneal the saw plate. Sometimes this process is called “normalizing.” While it involves heating and cooling the blade, instead of making the steel hard, it makes it as soft as possible.
The purpose of this step is to relieve stresses, create a uniform and relaxed crystalline structure in the steel, and to soften the steel to prevent cracking during forging.
Annealing and normalization are very similar processes, both performed by heating the steel to a specific “recrystallization” temperature”(about 750˚C or 1380˚F for Shirogami No. 2), and allowing it to “soak” at that temperature for a specific amount of time. In the case of annealing, steel is left in an oven while temperature is slowly reduced in accordance with a specific heat curve. But when performing normalization, the white-hot steel is removed from the forge/oven and allowed to cool at room temperature, a faster, more economical process.
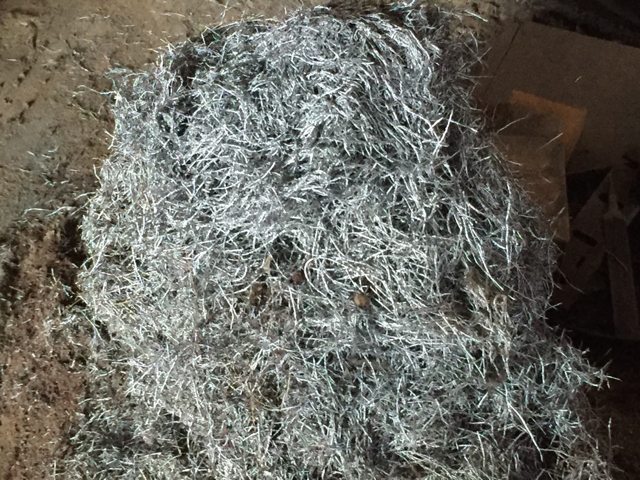
The traditional Japanese annealing/normalization process Takijiro employs at this stage is technically not pure annealing, but neither is it simple normalization. He heats the blades and upon removing them from the forge immediately places them to soak and slowly cool overnight inside a sealed, but neither airtight nor temperature-controlled, container filled with rice straw ashes, a low-oxygen, high-carbon atmosphere.
This annealing/normalization process is hot and dirty work, unsuited to either impatient factory workers or to mass-production, one that it adds considerable time and cost to production while yielding few benefits purchasers nowadays can discern using Mark-1 Eyeball, as seen through the lens of what I call “Chinese Logic.“
Why Chinese logic, you say? Because the benefits it imparts to the crystalline structure of a steel blade are not only impossible to analyze without using an expensive SEM, but are difficult to check through conventional non-destructive quality control procedures, and impossible to judge from an illustration in a catalog (harking back to the Sears Catalog days) or a digital photo on the internet, all reasons why this critical step is always neglected by other than well-trained, dedicated craftsmen like the blacksmiths C&S Tools works with, who refuse to cut corners.
The next morning, the blades are removed from their resting place in the ash box. At this point they are still too hot to handle without gloves or tongs.
Cold-forging
Now that the saw plates are roughly shaped and annealed, the next step is to further refine their crystalline structure by forging them using hammer, tongs and anvil. Takijiro does not, however, heat the blades during this step.
During this stage Takijiro prefers to forge blades by hammer and hand two at a time, one stacked on top of the other. The position of the blades in the stack is changed frequently so approximately the same number of blows directly strike both faces of both blades. Not only does this save time, but it cushions and better distributes the force of the hammer blows.
He then repeats this process by hammering both sides of a single blade.
The purpose of all this violence is to “tighten up” (shimeru 締める) and improve the blade’s crystalline structure, the primary benefit of “hand-forging” tools and weapons. This is not possible in a mass-production situation.
Obviously, if this step is performed carelessly, or by untrained factory workers and without properly annealing beforehand, a blade will crack sure as eggses is eggses. Just another of those jobs not suited to the amateur.
Quenching
The purpose of quenching the blade, of course, is to create a rigid, hard, even brittle crystalline structure.
Quenching Step 1: Heat the blade in a gas/charcoal fire to 800 degrees beginning at the blade’s tang end.
Quenching Step 2: When the blade is properly heated, plunge it it into rapeseed oil (canola oil is genetically-modified rapeseed oil) cooling it quickly. For more details, please read The Story of a few Steels.
Forge-weld the Tang to the Blade
The next task is to attach the soft iron tang to the hard steel blade by lapping the tang over the blade, heating the lap, and hammering until the two pieces meld. This technique, called “forge welding,” is as old as blacksmithing but has not been standard practice in Japan for the past three or four decades having been entirely replaced by electrical welding.
Takijiro does not use a welder.
Performance-wise, a forge-welded tang is not superior to an electrically welded one, but since it’s a sure sign of a hand-forged sawblade and indicative of traditional craftsmanship, it’s a detail highly desired by those who know the difference.

Tempering the Blade
Quenching makes the blade hard, but also brittle and quite useless as-is. The purpose of tempering therefore is to slightly break-down steel’s crystalline structure while reducing the amount of carbides, thereby making the blade flexible and much tougher.
Proper tempering also greatly improves a blade’s edge-retention performance. This is a key step in the Mystery of Steel, and in the case of Takijiro’s handsaws, is accomplished in four steps.
Tempering Step 1: Heat the blade to 300 °C (570˚F) beginning at the toe (tip) end of the blade, allowing the temperature increase to spread to the tang.
Tempering Step 2: Place the blade on the floor to air-cool.
Tempering Step 3: Reheat the blade to 400˚C (750˚F) beginning at the tang end of the blade, allowing the temperature increase to spread to the toe end.
Tempering Step 4: Place the blade on the floor to air-cool.
The portion of the blade near the forge-welded tang needs to be left a little softer for toughness and to allow the blacksmith to chisel his signature, one reason for the two-step process.
Removing Warpage from the Blade
Subjecting a thin piece of high-carbon steel to extreme violence by fire, hammer, and sudden cooling in oil during the operations described above will always make it warp, so it must next be straightened by the precise use of hammer, tongs and anvil. This is a task that requires patience and much experience. Once again, a task impractical if not impossible in a mass-production situation.
Adjusting the Thickness and Taper of the Blade.

The faces of a true high-quality hand-forged saw blade are not tapered willy nilly, nor in the simple parallel planes typical of mass-produced ground-and-sanded blades. Instead it must be shaped in a “double-taper.” In the case of a kataba (single-edge) saw, the first taper is from the teeth to the blade’s back, meaning the blade is thickest at the teeth, becoming gradually thinner towards the back.
The second taper is the blade becoming thinner from tang to toe.
Combining these two tapers results not in the creation of two flat planes in the saw blade, but curved surfaces on both faces of the sawblade. Please make sure you understand this detail well.
Let’s examine this double-tapered surface in a bit more detail. A case in point is the more complicated double-edged ryouba saw. If we examine a cross-sectional cut across a high-quality ryouba sawblade’s width (perpendicular to the long axis of the blade), we will observe that the blade is thinnest at its long center axis and thickens moving outwards towards the teeth on both sides so that, as the blade cuts deeper into the wood, the gap between the blade and hairy sides of the cut increases.
If we next examine a cross-sectional cut through the length of the blade, we will see the plate is thickest at the tang-end and thinnest at the toe, such that as the blade is pulled towards the user, the portion of the blade cutting the kerf is always thinner than the kerf itself, thereby reducing friction and the tendency to bind and buckle. The combination of these two tapers on each face of a sawblade is what your humble servant calls a “double taper.”
Restating the previous paragraph, as result of this double-taper the thickness of the sawblade inside the kerf being cut measurably decreases as a stroke progresses, incrementally reducing the pinching forces acting on the blade in the kerf, as well as the friction of hairy wood fibers on the blade. The net result is that the energy necessary to motivate the blade is decreased, cutting precision is improved, and the blade is less likely to be damaged by buckling.
In the case of double-edged ryouba saws, this increase in thickness from the plate’s centerline to the teeth has limited usefulness, however, because, as the blade cuts into the wood deeper than its centerline, the blade gradually becomes thicker increasing friction in the kerf. This is one reason why some craftsmen, including your humble servant, prefer single-edged “kataba” saws over the more cost-effective and convenient ryouba saw.
These pinching/ friction forces can also be reduced, of course, by adding extra set to the teeth. But set is not all blue bunnies and fairy farts because, while it’s indeed effective at reducing pinching/friction forces acting on the blade in the direction of the blade’s width, it is not effective in the direction of the blade’s length, unless a large amount of set is added.
Applying minimal set matters because the greater the set, the more wood must be cut, the more time and energy must be expended, and the more cutting precision is reduced. Cheap saws and replaceable-blade saws lacking taper must have a humongous amount of applied set, BTW, an ungainly and wasteful feature despised by knowledgeable craftsmen.
A high-quality handsaw with a good double-taper will cut with less effort, in less time, without binding, and with greater control and precision than a plain, flat saw, even one with adequate set. Contingent, of course, on the skills and perception of the user.
I don’t know where this subtle idea was first developed, but I understand it has been used by advanced blacksmiths throughout the world for centuries. Why? because it works.
So how does the sawsmith impart double taper to a blade? It begins with having a vision of the finished blade in-mind when shaping and forging the blade with fire, hammer and tongs. But there are practical limits to the precision achievable with fire and hammer, so the master sawsmith will adjust the blade’s thickness using two-handed scrapers to shave steel from the plate.

Although few know them and even fewer use them nowadays, scrapers were once tools found in every metal working shop around the world. In trained hands they are capable of achieving amazing precision, such that all metalworkers and even college students studying machinery engineering in the USA as late as the 1960’s were trained extensively in their use.
Expensive 3-axis CNC grinders can do the job, but conventional grinding and sanding equipment is unable to achieve the quality of taper that hand-scraping can.
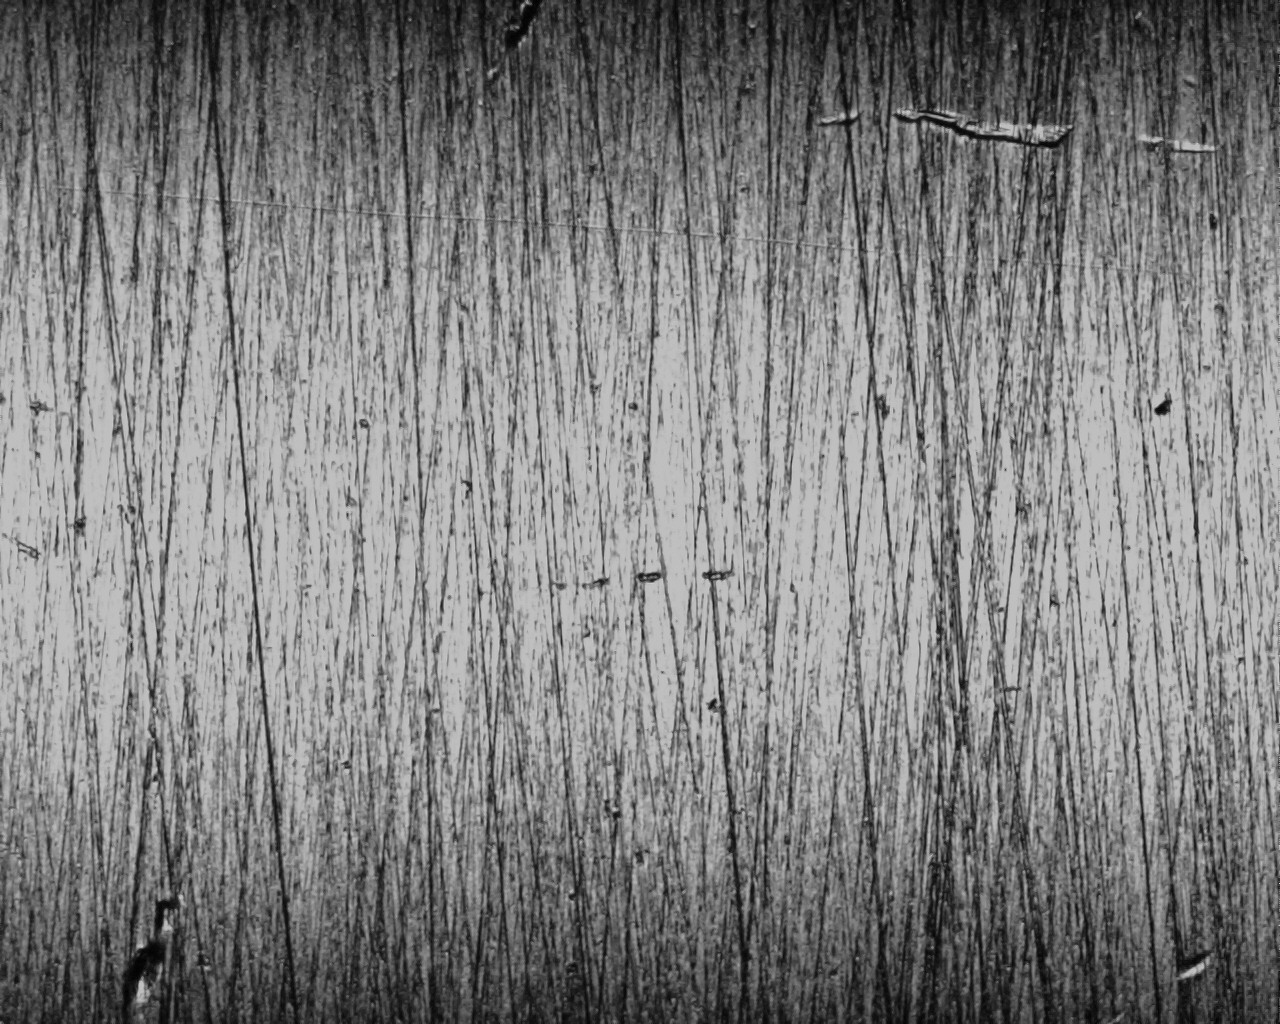
The marks hand scrapers leave on a sawblade are obvious and very different from those left by grinders and sanders, and being the results of handwork, are something to look for when evaluating a saw. On the other hand, ground, sanded and polished blades are shinier and prettier than scraped blades, and if the polishing was done after tapering by hand with a scraper, I can find no fault with it.
But please be aware that extensive sanding and polishing contribute nothing to a saw’s performance, while on the other hand are highly effective at concealing grinding failures. More sizzle less bacon.
Caveat emptor baby.
Cut the Teeth
The sawsmith uses a hand-powered shear contraption with tooth-shaped blades (kinda sorta like the teeth in pinking shears) to cut (or punch) the teeth. The teeth produced during this step are quite rough.
Rough Filing
The sawsmith uses hand files to shape and refine the teeth cut in the previous step.
This first filing operation produces properly-shaped but not perfectly sharpened teeth.
Applying Set
Now that the teeth are properly shaped, the sawsmith applies right-left set to the teeth using an anvil and a special hammer. The following videos YouTube videos show the process, although at a much slower pace than real life.
Cutting The Brand Name
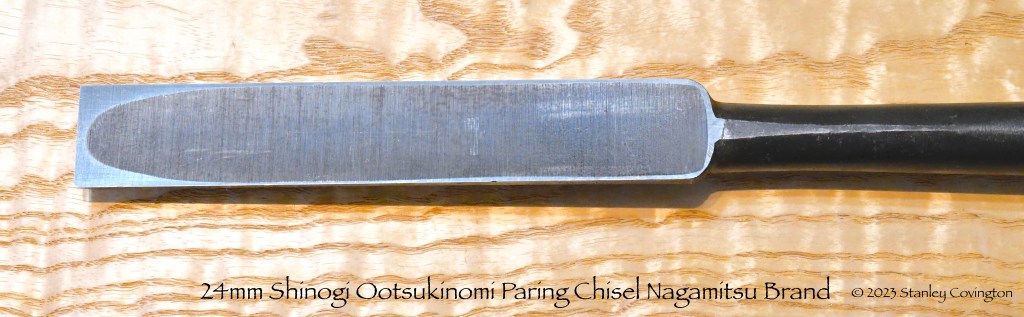
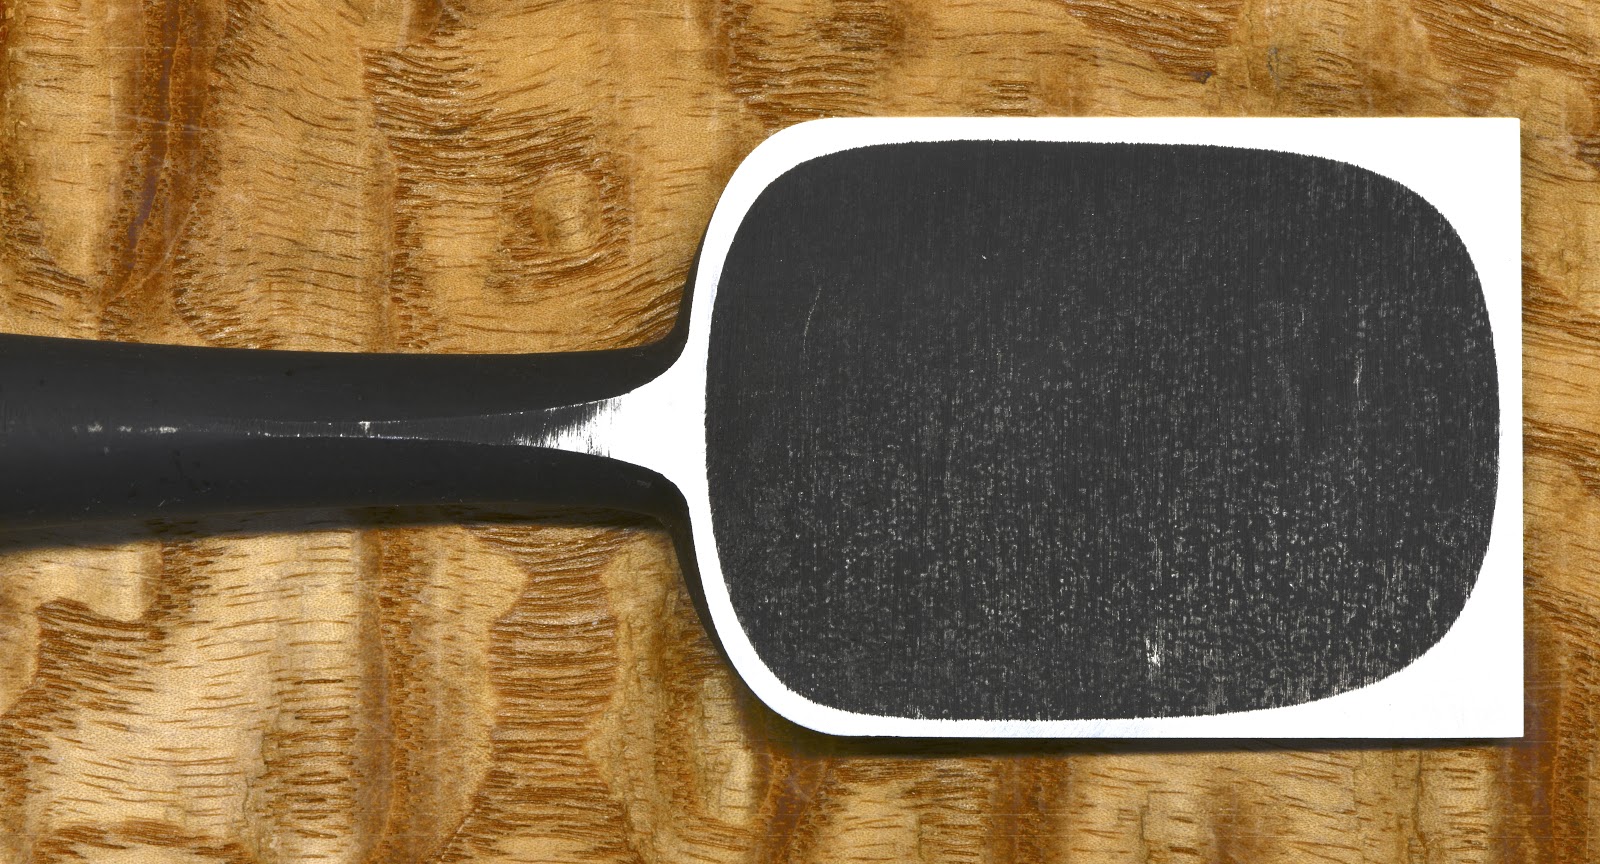
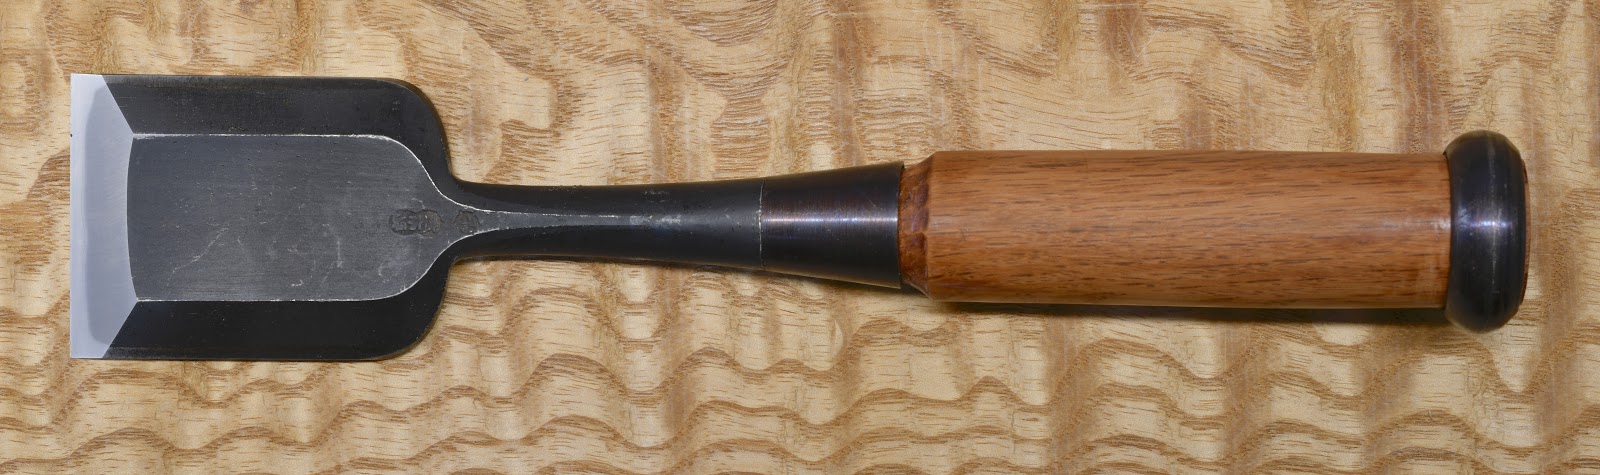
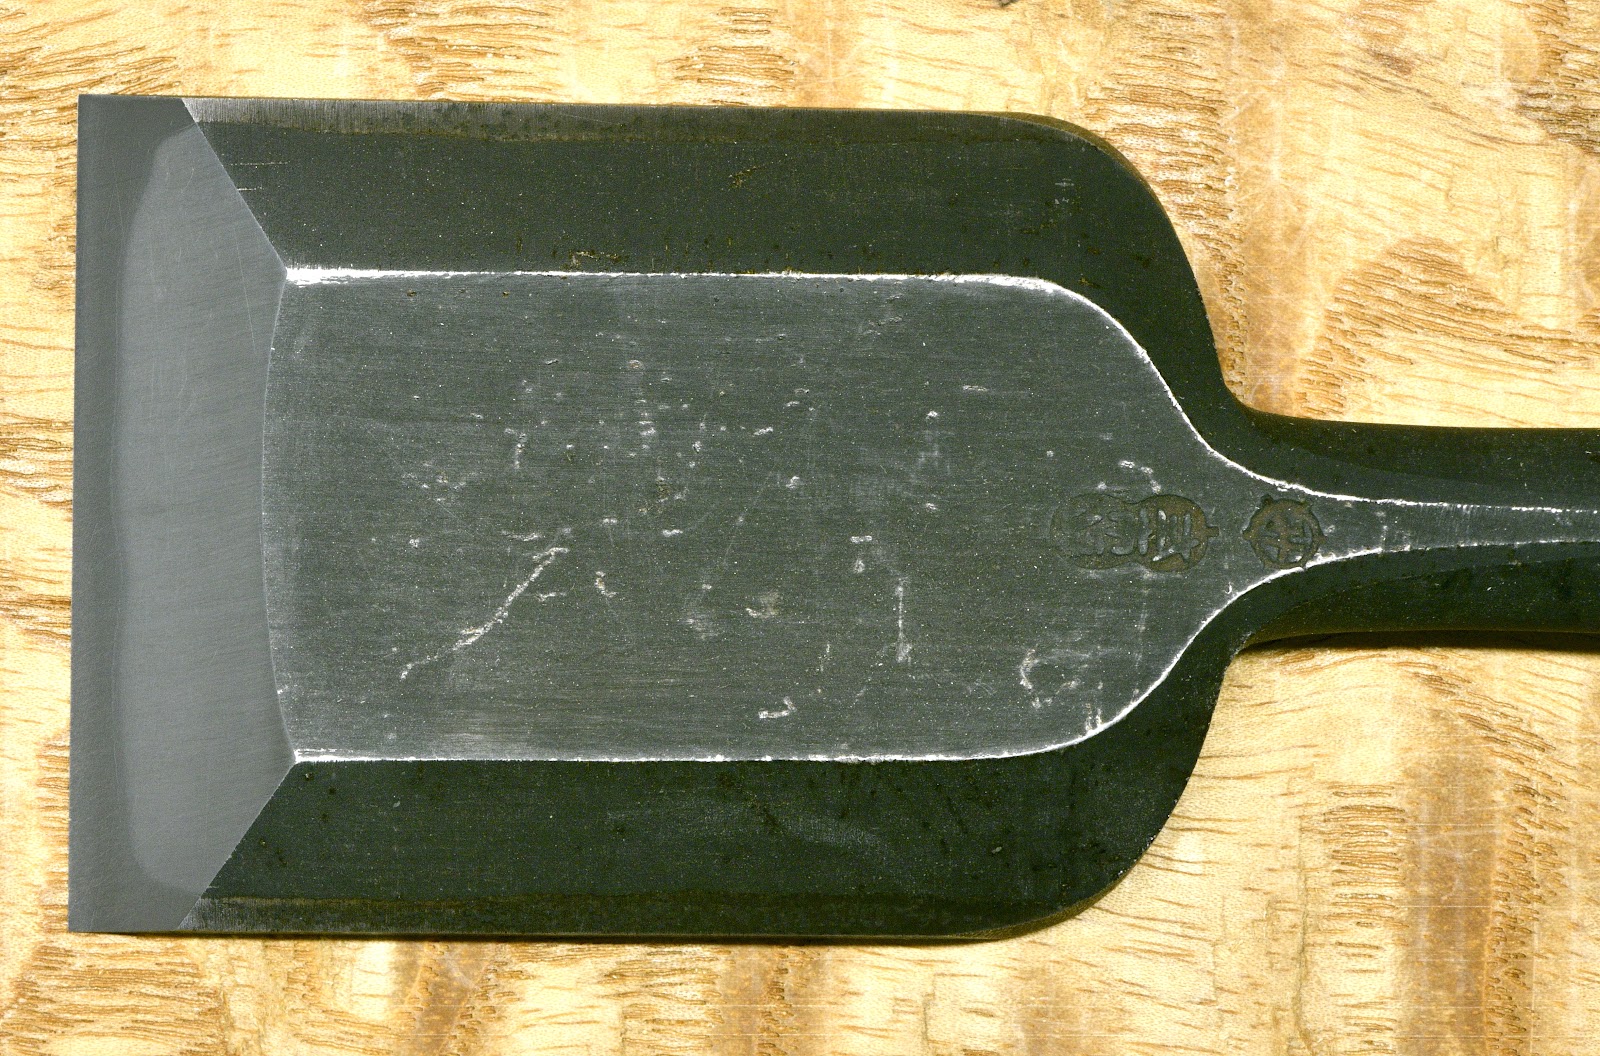
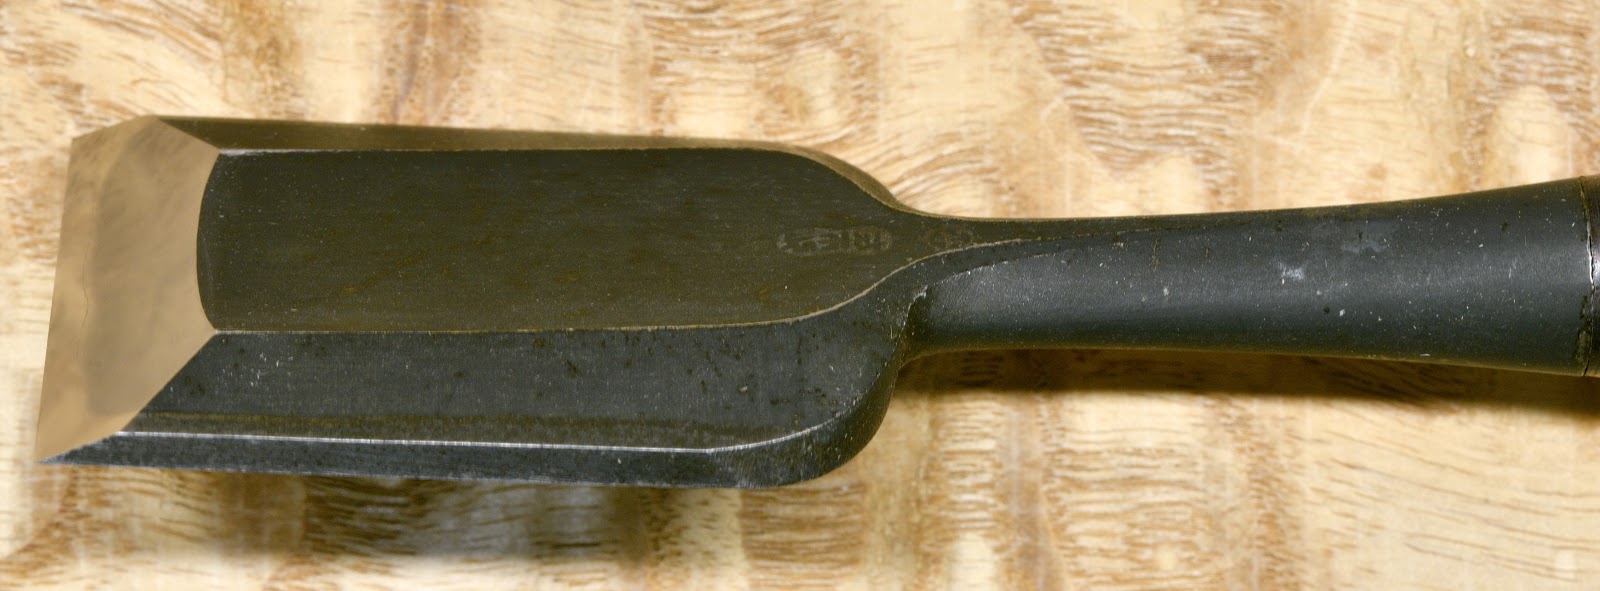
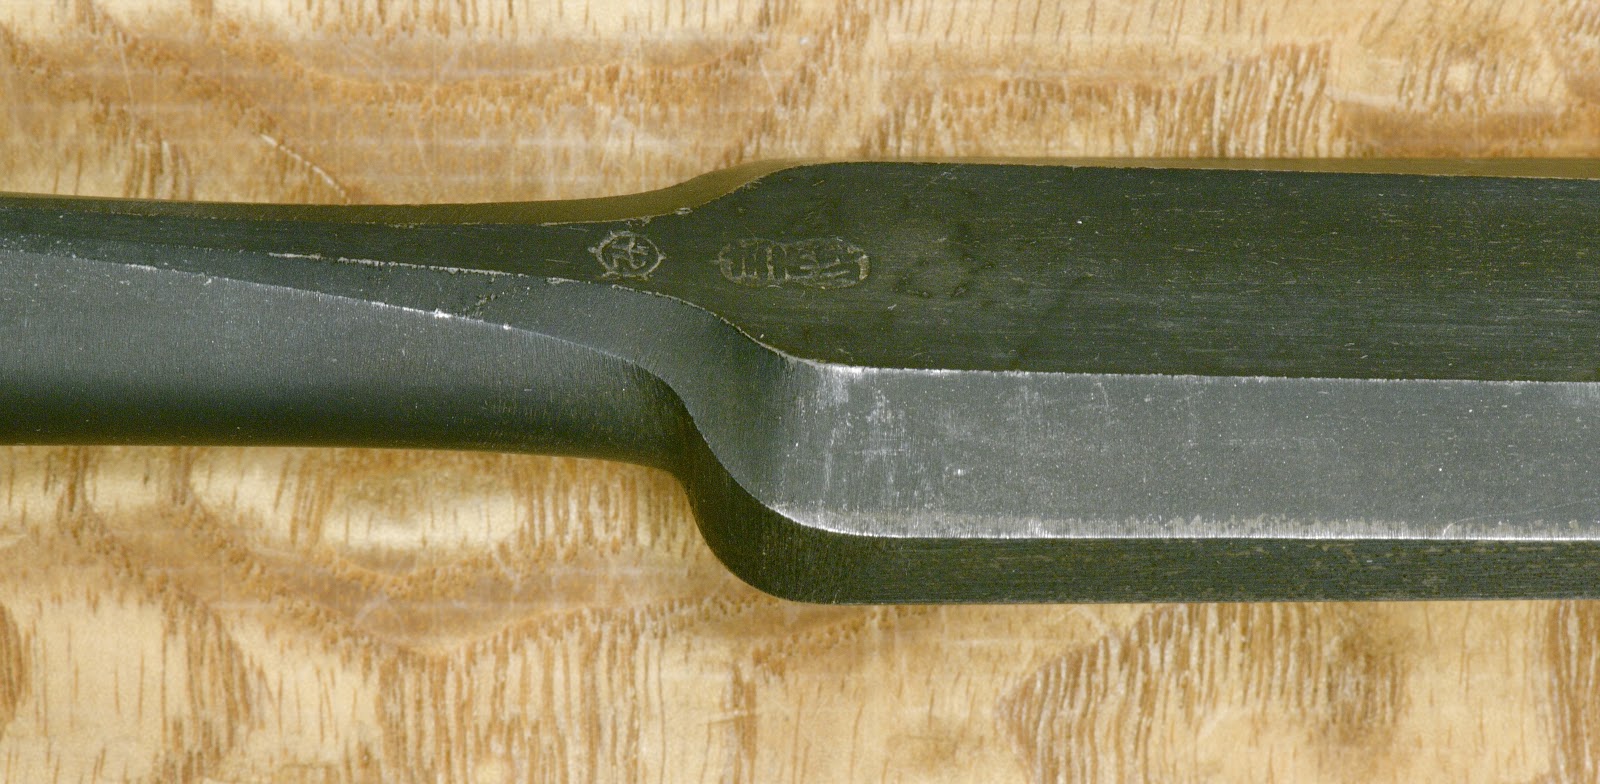
The next step in the process is for the sawsmith to use a hammer, anvil and chisel to carve his legal, registered signature into the blade just above the tang, as seen in the photos in this article. This feature was perhaps borrowed from the sword world, but no one knows. In any case, it’s this unique signature and the way it was cut that witnesses the handmade nature of the saw as well as the name of the craftsman that made it.
Sometimes this brand name is easily read, but often the characters are stylized to the point of illegibility. For instance, not only your humble servant, but most Japanese are unable to read even one of the six characters in Takijiro’s signature. “The signature is the signature” he explains.
Sharpening
With the teeth shaped and set applied, the teeth are now ready for their final sharpening.
Traditionally, most blacksmiths simplify this step to a quick and dirty sharpening, but for an extra fee, they would send the blade to a professional sharpener for a more refined sharpening job called “Honmetate” (hohn/meh/tah/teh 本目立て). Takijiro, however, was trained by his master to a higher level of proficiency, and for the first 3 years of his apprenticeship was tasked with sharpening saws exclusively, skills that are wonderfully obvious in the performance of his saws. All of his saws receive honmetate by him.
I was unable to find a video showing a professional sharpening job on a cabinet-grade saw in-action, only jobs on larger saws, mostly for trimming apple trees. But while the tools and process are much the same, the skill and speed required to sharpen the numerous fine teeth of a dozuki crosscut saw are awe-inspiring.
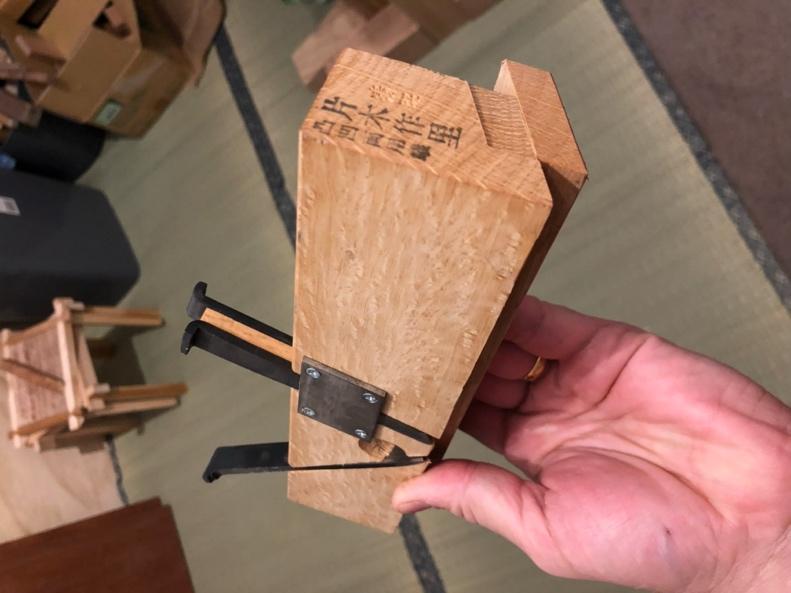
Video about making a Japanese-style saw vise LINK
The Answer to the Mystery of the Burnt Blade: Coloration (Irozuke 色付け)
In the Japanese language this final step in the saw making process is called “irozuke” (ee/ro/zoo/keh 色付け) which I’ve translated as “colorization.” In the Japanese language this translates directly to “apply color.” It’s also called kesho ( keh/sho) 化粧), which is the same word used for makeup, as in the gunk and powdered pigments women and actors apply to their faces.
In this step, the sawsmith uses a deformed truncated cone, simply a piece of sheet metal bent into a cone with the pointy end cut off and smashed into an oval shape.
He places the wide end of this cone in his forge, or on a gas stove, so the heat will rise and be funneled into an oval shape. He rests the sawblade on the narrower, upper end of the cone so it focuses heat onto a specific area of the blade. When the blade reaches the right temperature, as judged by color changes, he removes the blade and allows it to air-cool.
The answer to the Mystery of the Burnt Blade, therefore, is this “colorization.”
As described above, the first time your humble dogsbody saw a professional-grade handsaw in Tokyo I was shocked at the sight of the golden-brown spot of color on its blade. Since then, I’ve heard many suppositions for its existence, most pungent BS, but the true reasons for this additional step are threefold.
- Colorization is the final step in the tempering process, one that slightly softens the steel in a critical spot to make the blade tougher. This is one application of “differential hardening” a technique of which blacksmiths are extremely fond, one that is important to a saw’s performance.
- Second, the resulting differential hardness slightly reduces the blade’s springiness by damping the tendency in a thin hardened-steel plate to develop resonant harmonic vibration, a problem that inflicts many saws. Gentle Reader may have experienced this while using large Western panel saws when the blade tends to vibrate and quickly “waggle” right and left towards the end of the return stroke, movement that is not only distracting but wastes time and can harm precision. This characteristic too is important to those with the skills adequate to tell the difference.
- And last, at least in Eastern Japan, colorization is clear evidence that the saw was properly forged without taking any shortcuts, much like an actress will take care in applying her makeup before a performance, except that, unlike bottle and powder makeup, colorization on a sawblade reveals instead of conceals. Oh yes, and it costs a hell of a lot less than Gucci Beauty‘s foundation gunk.


The Black Light Mystery
I will conclude by relating another mystery about handsaws Master Nakaya Takijiro shared with me
According to Takijiro, scraping a sawblade by hand can reveal the quality of the forging and heat-treatment of a saw blade in ways no other methodology can, because shavings freshly scraped from an expertly-forged and heat-treated blade will, for a brief moment, exhibit a shiny black color, what he calls “black light” (kurobikari 黒光). On the other hand, shavings scraped from an inferior blade will always be plain bright steel.
A grinder is unable to provide this quality insight.
Conclusion
Despite the subject of this article being somewhat obscure, I pray it has has been informative.
Until we meet again, I have the honor to remain,
YMHOS

If you have questions or would like to learn more about our tools, please click the “Pricelist” link here to view our tools, and use the “Contact Us” form located immediately below.
Please share your insights and comments with everyone in the form located further below labeled “Leave a Reply.” We aren’t evil Google, fascist facebook, or the US Congress’s corrupt January 6th Committee and so won’t sell, share, or profitably “misplace” your information. If I lie may the Nazgul piss on my roses.


Relevant Articles
- The Story of a few Steels
- Sharpening Part 6 – The Mystery of Steel
- Sharpening Part 7 – The Alchemy of Hard Steel 鋼
- Japanese Handsaws: The Hozohiki Precision Rip Saw
- Japanese Handsaws: The Dozuki Precision Crosscut Saw
- Japanese Saws: The Carpenter’s Dozuki & Hozohiki
- Japanese Handsaws: The Twins
- Japanese Handsaws: The Maebiki Oga
- Japanese Handsaws: The Bukkiri Gagari
- A Guest Reviews 3 Handsaws
- The Mystery of the Burnt Blade
- Handsaws: Some Guidelines to Aid Precision


Leave a comment