
Give me six hours to chop down a tree and I will spend the first four sharpening the axe.
Abraham Lincoln
Sharpening stones must be maintained if they are to perform effectively. Abe Lincoln’s quote above is especially relevant to this subject.
There is a lot of hogwash taught as holy gospel on this subject, so in this article your humble servant will suggest some more or less traditional methods that both work well, and are cost-effective. Do with them as you will.
Key Principles
Let’s begin with a few basic but critical principles about sharpening that Beloved Customer should understand and use:
- For the majority, but not all, applications, your blades need to meet the following standards:
- Flat back/ura: perfection is not necessary but it must be flat enough for you to be able to consistently polish the last few millimeters of steel at the ito-ura (flat adjacent the cutting edge) on your finishing stone;
- Flat bevel, for the same reason mentioned above;
- Straight cutting edge (except when a curved cutting edge is required).
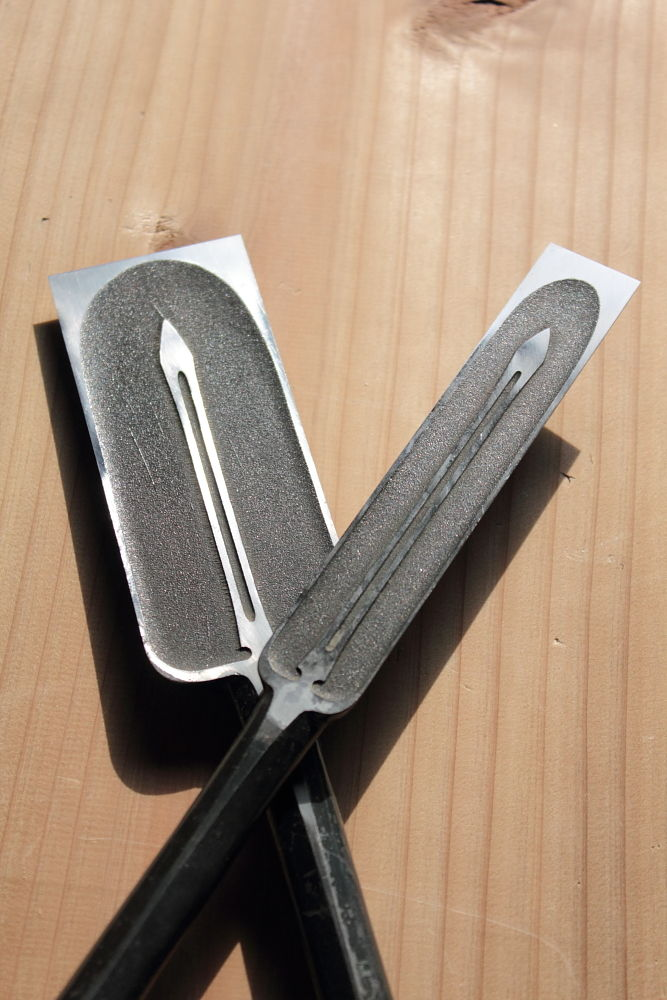
- All Stones get out of tolerance with use. Working a steel blade on a sharpening stone of any kind, whether waterstone, novaculite, coticule or carborundum, wears the stone a little bit with each stroke, creating a dished-out, twisted surface to one degree or another, even if you can’t detect the distortion with Mark-1 eyeball. Therefore, you need to develop the habit of frequently checking the flatness of your stones when in use and truing them when necessary;
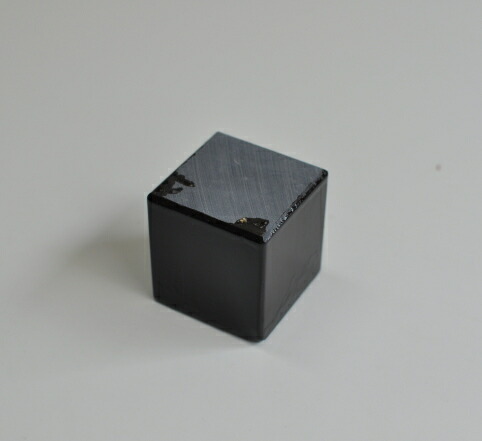
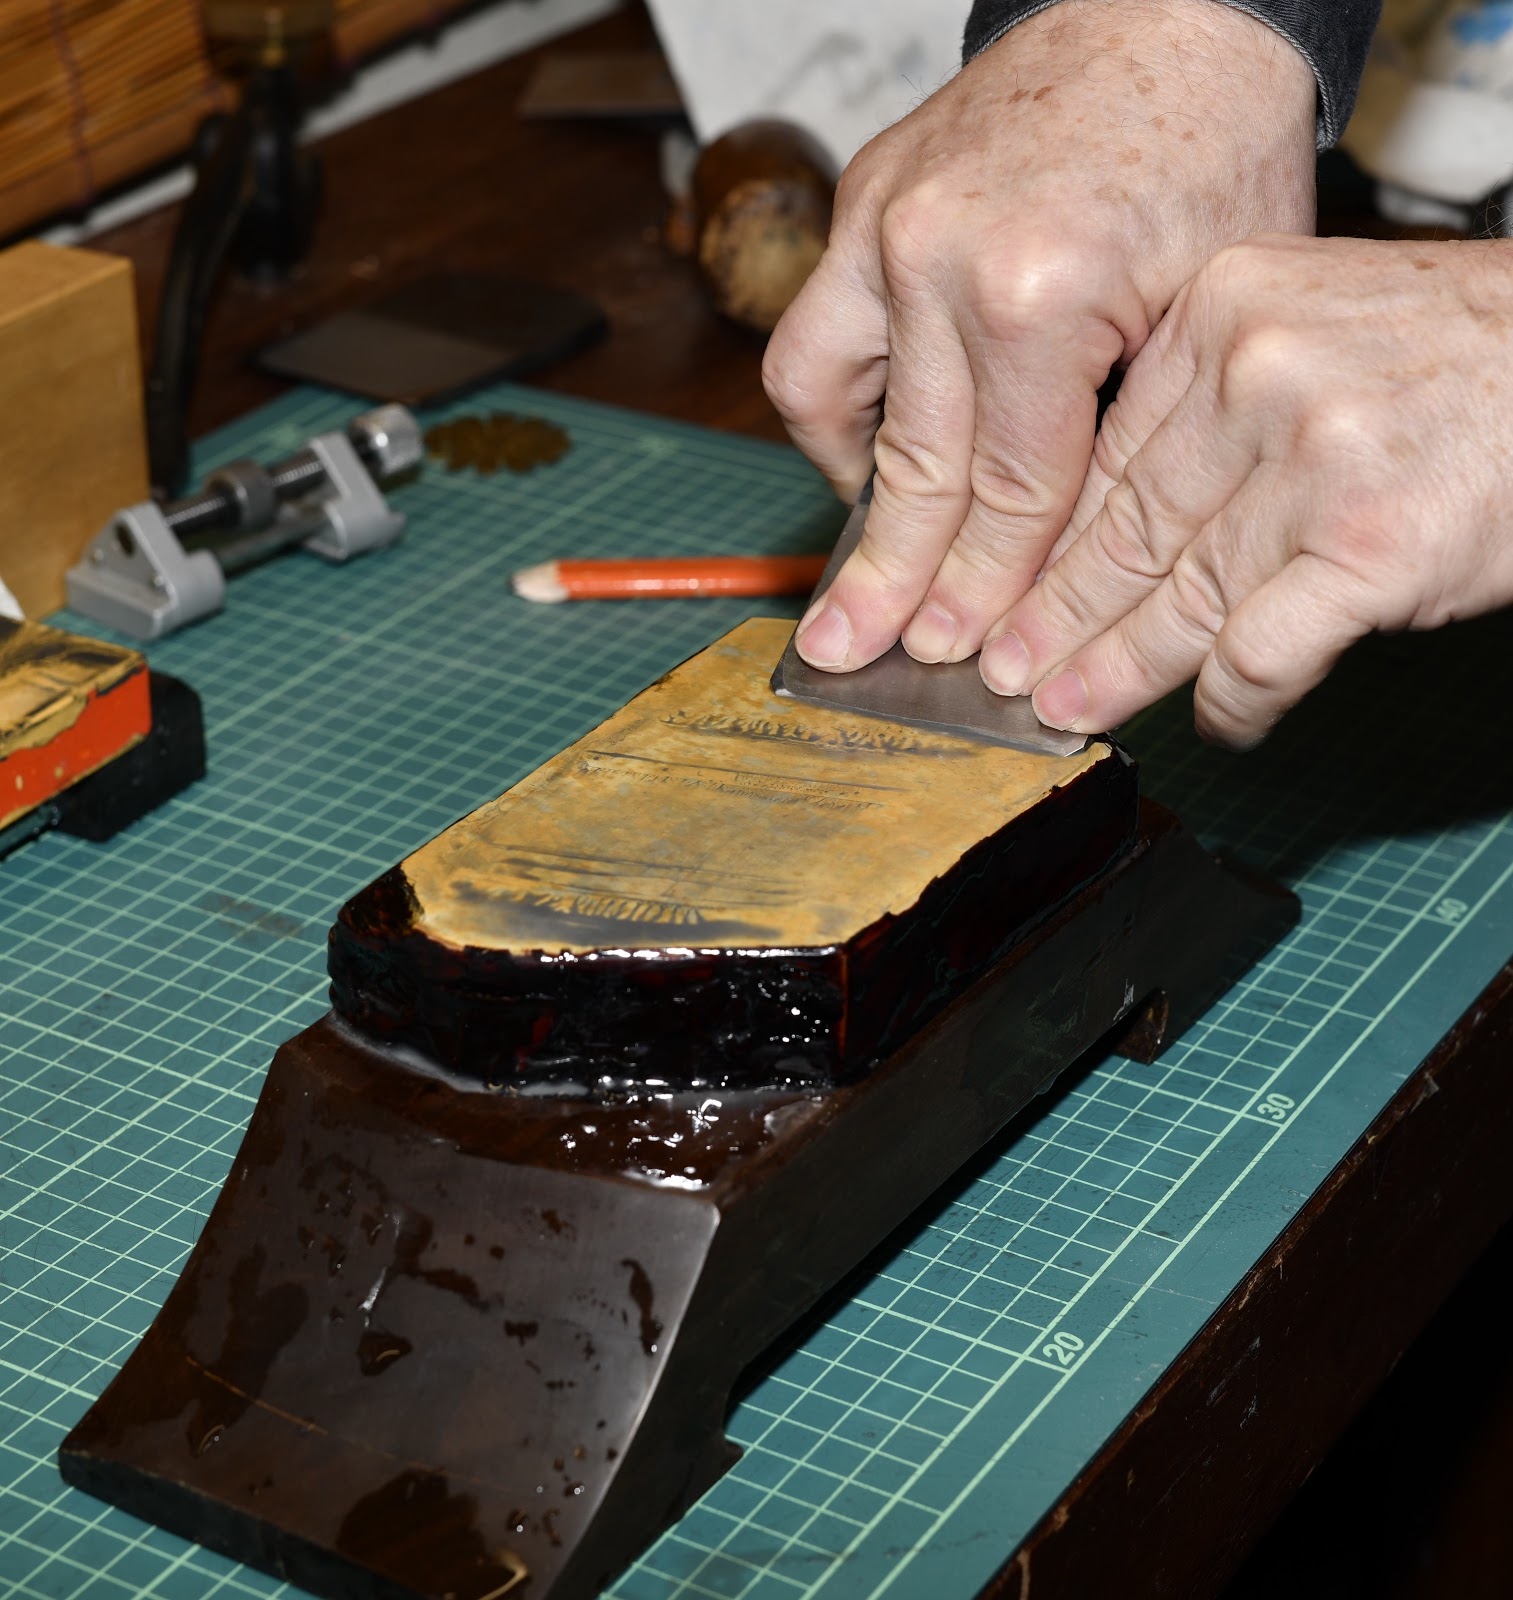
- Despite what many imagine, a hollowed-out stone like the one shown above cannot reliably maintain a blade with a planar ura, a flat bevel, and a straight cutting edge, but it can damage any blade and quickly.
The Rule of Seven applies, so reread these three critical points three times, click your heels three times, and ask the gods of handsaws to help you remember them.

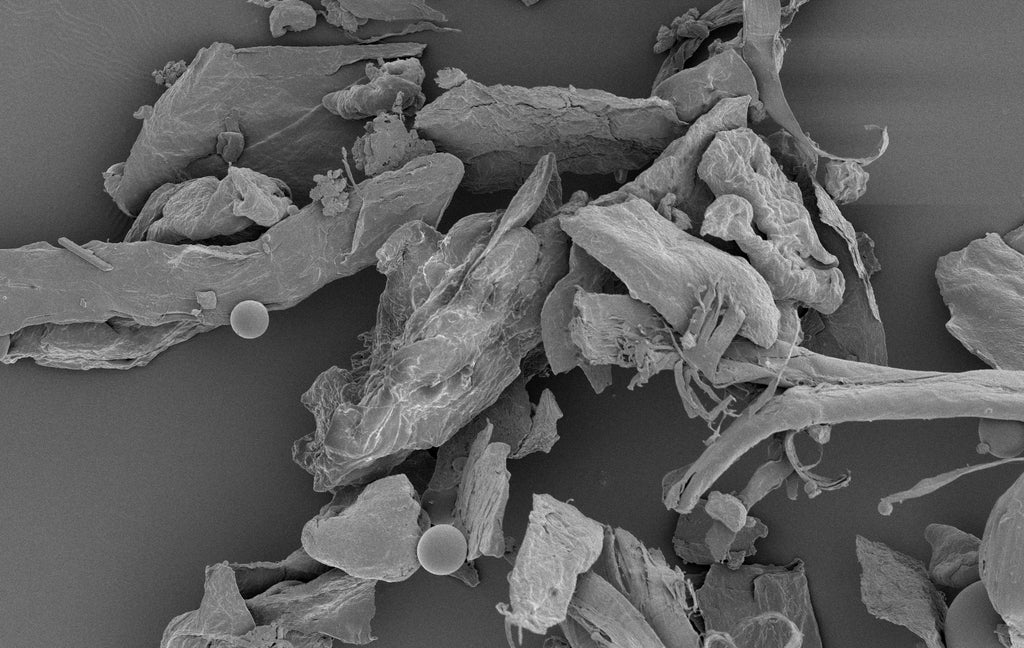
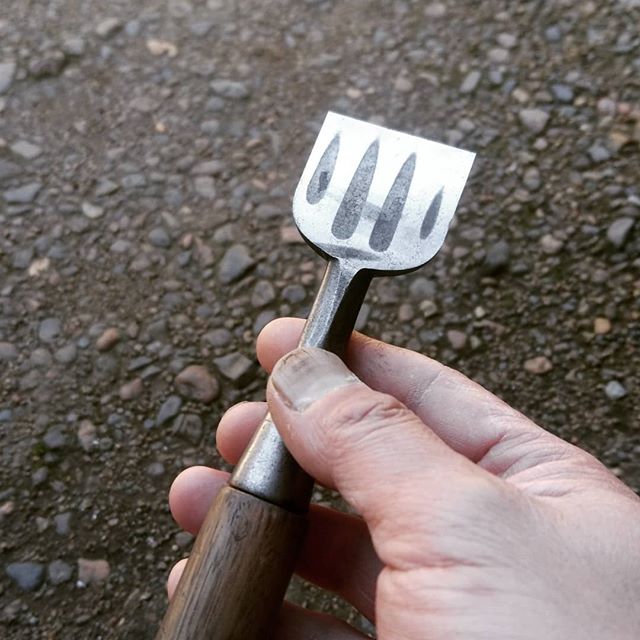
What are the angel and her little buddy pondering? Sharpening, no doubt.
Pretty simple stuff, right? I apologize if Beloved Customer already knows these things, but you would be surprised how many people know them but still ignore them, and then wonder why their blades won’t behave. Iron Pixies? Nah. Perhaps Mifune Toshiro said it best in Akira Kurosawa’s movie Yojimbo when he quoted the old Japanese proverb: “There’s no medicinal cure for foolishness” (馬鹿に付ける薬はない).

Here’s the scene on YouTube. Please don’t watch it if you are squeamish. Never call the Man With No Name’s bluff.

Although it has only happened once or twice in my recollection (my saintly wife of the jaundiced eye may disagree (ツ)), on those few occasions when I have made a stupid mistake I have been known to ask subordinates to fetch a large bucket of “Idiot Salve” for me from the drugstore. The jury is still out on the effectiveness of this ointment, but I would like some credit for writing this entire article without applying any.
But I digress.
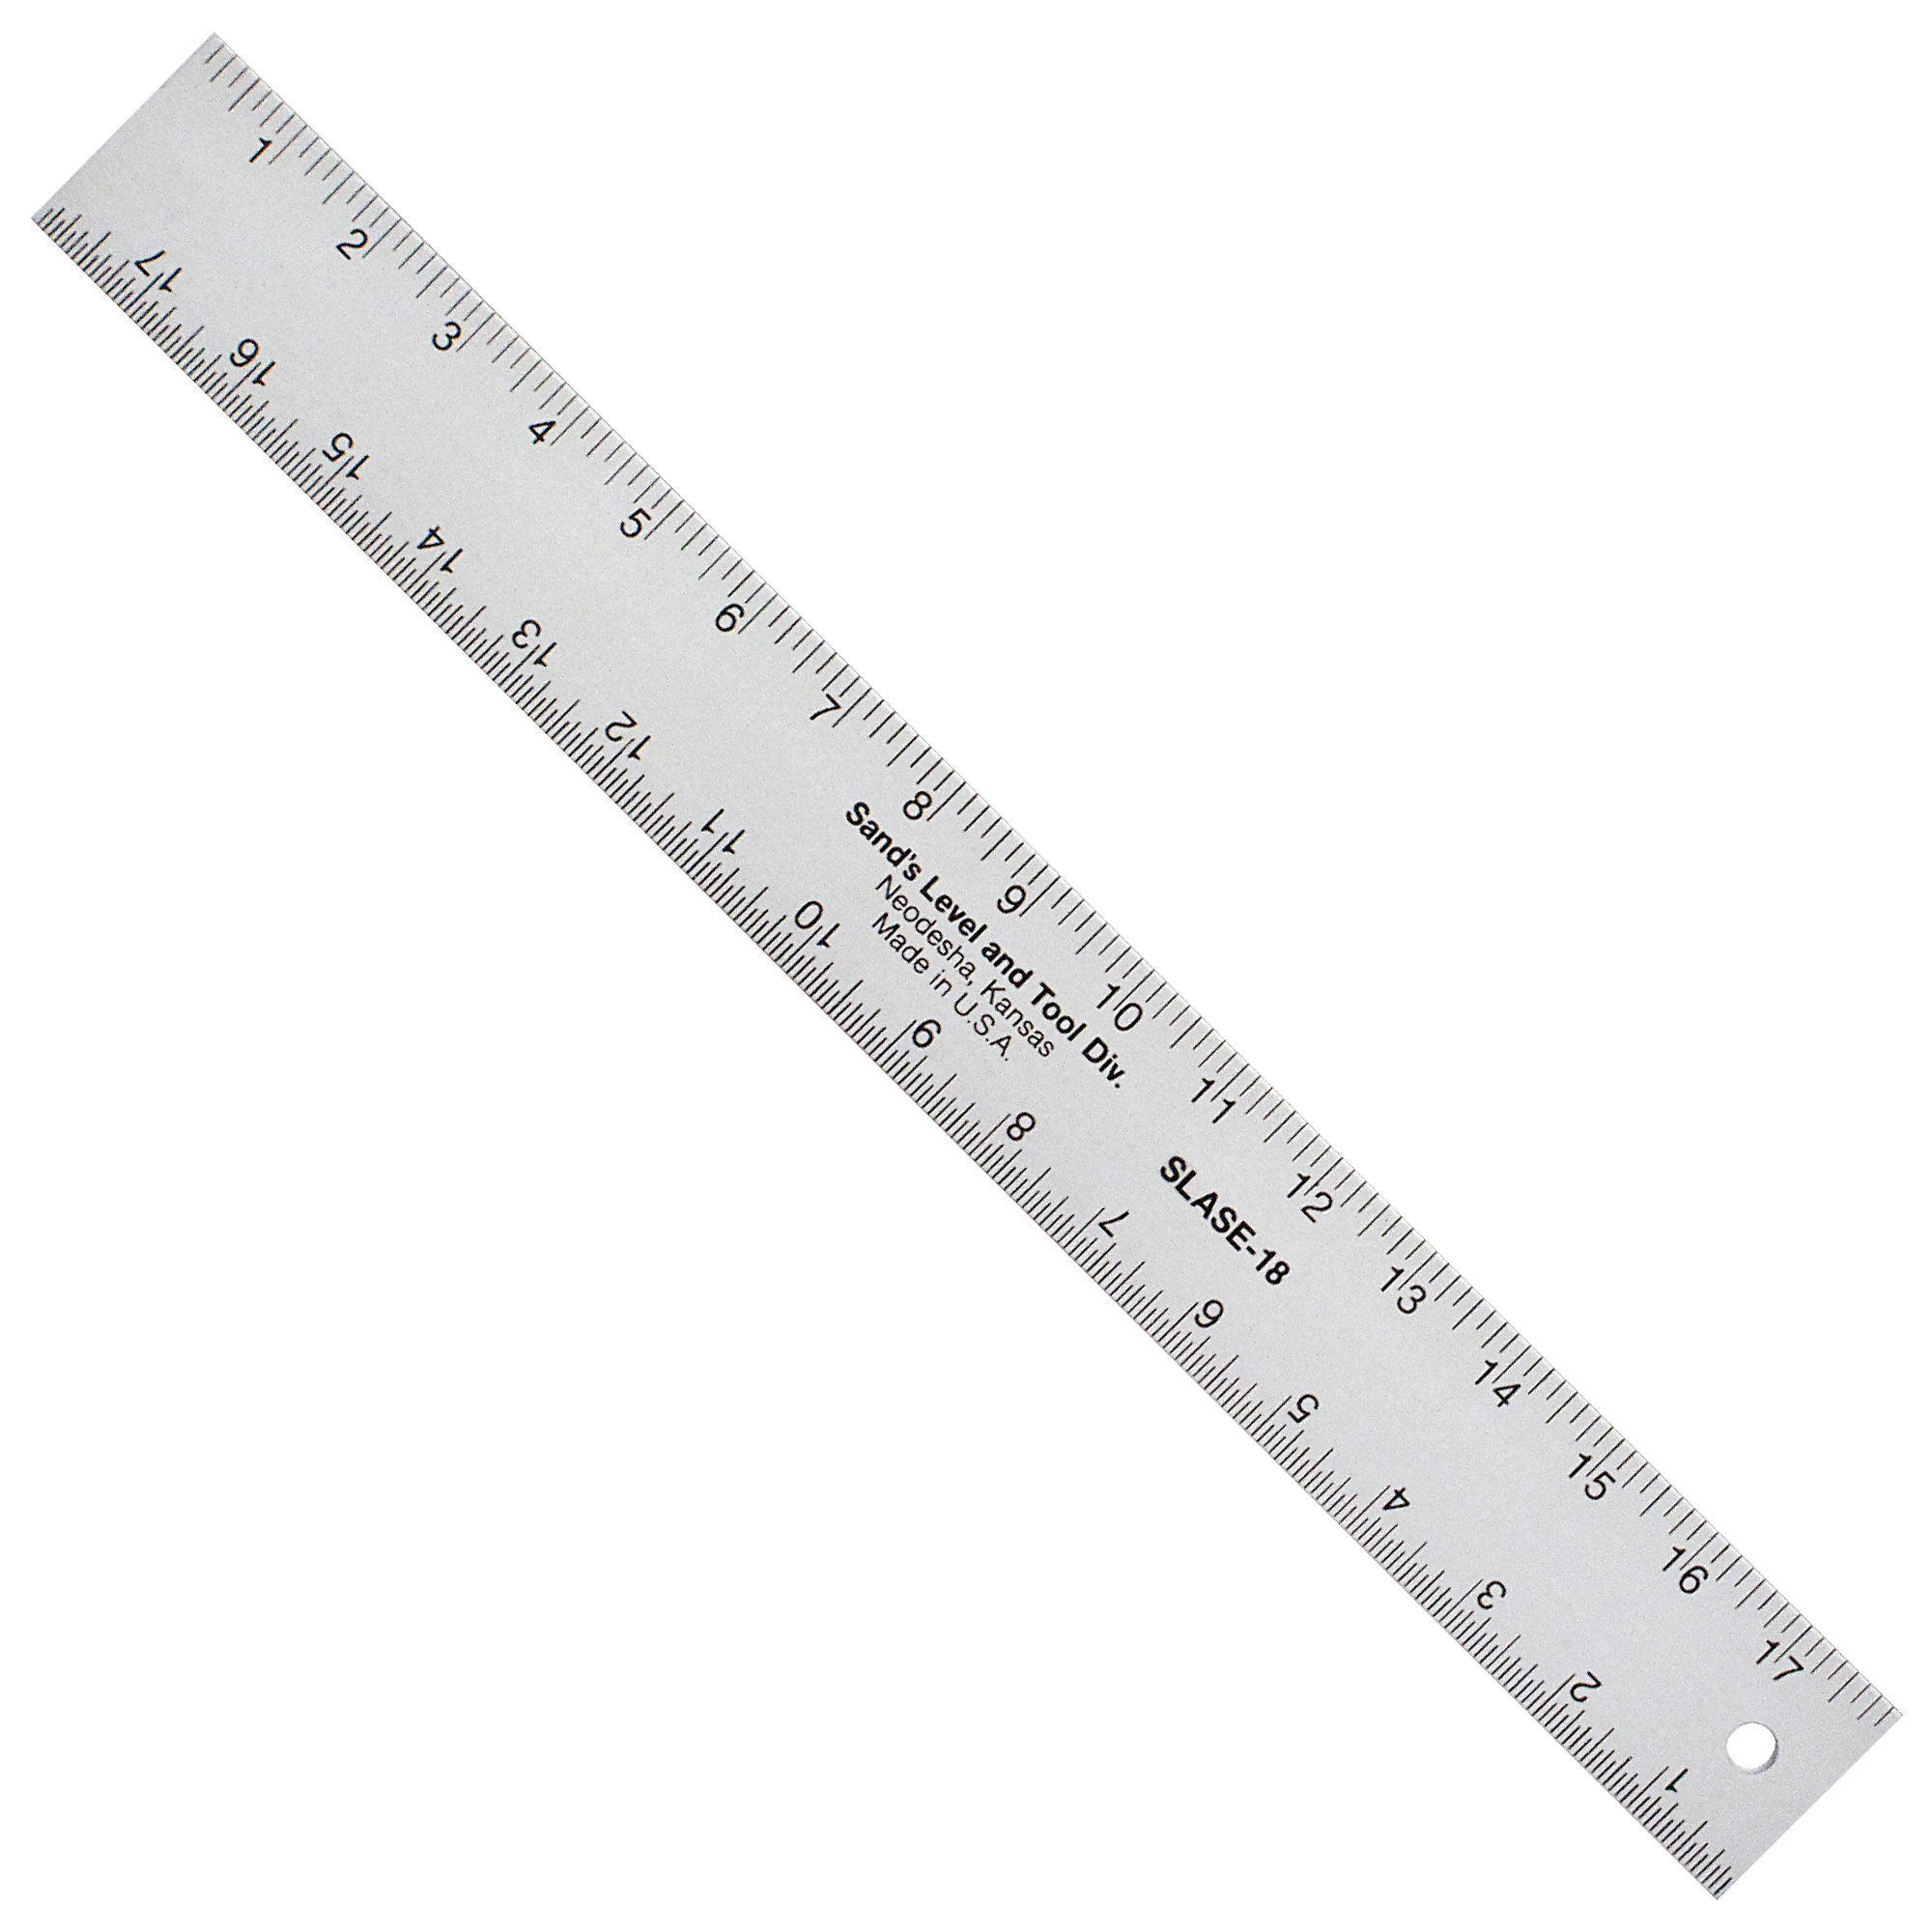
Obviously, if every stroke wears the stone a little, then we must constantly check our stones with a stainless steel straightedge for flatness (length and width) and wind (diagonals) as we use them. It takes 3 seconds. Even if your stones are brand new, you may find distortions. Time spent checking is not wasted if it results in improvement, which it usually does. This is the heart of quality control, and is applicable to everything in life.
Truing Stones
When your check reveals the stone is out of tolerance, you need to flatten/true it. Don’t put it off.
There are many ways to get this job done. Some people advocate using diamond plates to flatten stones. Others insist that sandpaper is best. And then there are the specialty flattening stones. It ain’t rocket surgery. All these methods work, but are unnecessarily costly and time consuming in my humble opinion. The following is the procedure I use. I know it sounds weird. I didn’t invent it but I’ve used it for many decades and highly recommend it. Give it a try, Beloved Customer, before you dismiss it.
- Always have two of each of your rougher stones soaked and ready to go when you start sharpening, space and weight permitting. This means 2 – 1,000 grit stones, and 2 – 2,000 grit stones in my case. If you use your tools, owning these extra stones is never wasted money and can improve your efficiency. For instance, beginning the day with two flat 1000 grit stones (the grit your humble servant uses the most) ready to rock n roll means I have 4 flat faces to use before I absolutely must stop work and true them.
- If the blade is damaged, for instance chipped or dinged, begin with a rougher stone or diamond plate, whatever you have that will waste metal quickly and easily while keeping the blade’s bevel flat. Don’t waste time frikin around with medium-grit stones when steel must be removed.
- If your blade is not damaged, begin the sharpening process with a fresh, flat stone, for instance 1,000 grit if the blade is fairly dull, or 2,000 grit if it’s just partway to dull. Turn the stone end-for-end halfway through the estimated number of required strokes and continue sharpening. This is important to keep your stones true. Yes, you need to keep track of your strokes, at least approximately. This will become second nature with practice.
- Occasionally check the stone for dishing and wind using your thin stainless steel straightedge. With practice you will develop a sense of the stone’s condition without the need to use a straightedge, but check each stone frequently while you’re developing your advanced sharpening skills. Stop using the stone when the distortion becomes noticeable.
- Switch the distorted stone with your flat stone of the same grit and continue sharpening.
- When both stones of the same grit become distorted to the same degree, cross-hatch the faces of both with a carpenter’s pencil, then rub them against each other under running water if possible, or while frequently adding water if running water is not available. Take short strokes and be careful to apply even pressure to the stones. This requires self-control, switching the stones end for end frequently, and making an effort to apply even pressure with your hands, and is more difficult than it sounds until you get used to doing it. The friction and water will wear the high spots down, I promise.
- Monitor the pencil marks to track progress.
- Check with a straightedge frequently, and stop when both stones are flat, or maybe even a tiny bit convex.
With practice, and if you don’t let your stone’s condition get out of hand, this process should take only a few seconds, but it will ensure you are always working on flat stones.
If you think this technique is slower than using a diamond plate, specialty flattening stone, or sandpaper, you may be overlooking a key point, namely, that using this method one can flatten the faces of two stones at the same time, in the same time period, and with the same hand movements. It may be slower than flattening a single stone with a diamond plate, but it is definitely quicker than using the same diamond plate to true two stones one at a time. Think about it.
It’s also cheaper because diamond plates are costly, and wear out. The specialty flattening stones are not cheap, and they too wear out. Both methods can contaminate stones, in my experience. And sandpaper sheds the most contaminating grit, and is the most expensive method long-term. No-brainer.
Now you have two stones of the same grit on-hand that are flat, free of contamination, and ready to rock-n-roll without wasting time or money on diamond plates, sandpaper, or special flattening tools. These are four fresh, flat surfaces to use before you need to take time away from your paying job. And if you pay attention when sharpening, and take care to use each stone’s entire face, the time between sharpening sessions can be increased while saving significant amounts of cashy money.

Truing Stones Using a Glass Lapping Plate
Finishing stones seldom require flattening, but the same procedure can be used when necessary. A better solution is to the use the float-glass lapping plate described next.
If you need to get a stone extra flat, rub the stone on the ⅜~1/2” (9~12mm) or thicker plate glass mentioned in the previous post. You can often bum scrap pieces of suitable glass from glass stores or contractors. Dumpster diving behind a glazing shop may prove useful if you are careful and don’t cut your arm off. Don’t forget to remove the sharp corners and edges with a carborundum stone or you might end up like the annoying guy in the video linked to above.
To turn the plate glass into a lapping plate, aggressively roughen one side with a carborundum stone or diamond plate, and clean it thoroughly using a scrub brush, soap and running water to remove every trace of glass and stone particles. Then clean your brush and scrub the glass again.
The scratches you just made will turn it into an inexpensive and efficient lapping plate. Trust me. Just wet the glass and rub the stone on it while rinsing frequently. Try to use the entire surface of the plate, not just the center. And be sure to apply uniform pressure to the stone.
If a stone becomes grossly distorted, you can use a rougher stone or diamond plate to true it. Even a concrete sidewalk and garden hose will do the job. However, if you do this, remember that there is no way to avoid contaminating the finer stone with embedded grit from the rougher stone or concrete. This embedded grit must be dealt with before using the stone.
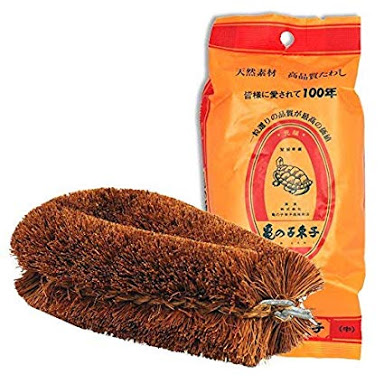
To remove the offending stone particles, scrub the stone’s faces, sides and ends with a rough bristle brush under running water. Finish by polishing the stone’s face with a nagura stone, and rinsing well.
You should also use your nagura stone frequently to dress and true the faces of your finishing stones.
And for Pete’s sake, don’t forget to maintain the edge chamfers on your stones and keep them free of contamination and pixies too.
As with all things, moderation is best. It can be be time-consuming and expensive to keep one’s sharpening stones perfectly flat, but perfect stones are not especially better for general woodworking than a pretty-flat stone.
Beware! For the rabbit-hole of perfect flatness is dark and deep, and sleepless nights and gibbering insanity afflict many who strive to plumb its furthest depths.
Rough Stone vs. Finer Stone
Here is an important factoid you should remember: A stone trued using a rougher stone or diamond plate will be effectively of rougher grit than its designation until its surface is worn smooth again. And it will wear faster too. But if you use identical grit stones (same brand is best) to true each other, the effective grit of each will remain unchanged.
Reread the last paragraph three times, click your heels three times, and do that prayer thing again. Namu Amida Butsu.
Conclusion
It’s important to keep ones’ stones flat and free of wind, and it’s not difficult or time-consuming to accomplish. In this article we looked at inexpensive traditional ways to effectively flatten and maintain our sharpening stones long-term. Give them a try.
Now that our stones are looking good, in the next post in this series of hogwash refutation we will be ready to consider how to use them to flatten and polish the ura of our blades. Y’all come back now y’hear.
YMHOS

If you have questions or would like to learn more about our tools, please click the “Pricelist” link here or at the top of the page and use the “Contact Us” form located immediately below.
Please share your insights and comments with everyone in the form located further below labeled “Leave a Reply.” We aren’t evil Google, fascist facebook, or thuggish Twitter and so won’t sell, share, or profitably “misplace” your information. If I lie may a family of hogs move into my shorts.


Links to Other Posts in the “Sharpening” Series
Sharpening Japanese Woodworking Tools Part 1
- Sharpening Part 2 – The Journey
- Sharpening Part 3 – Philosophy
- Sharpening Part 4 – ‘Nando and the Sword Sharpener
- Sharpening Part 5 – The Sharp Edge
- Sharpening Part 6 – The Mystery of Steel
- Sharpening Part 7 – The Alchemy of Hard Steel 鋼
- Sharpening Part 8 – Soft Iron 地金
- Sharpening Part 9 – Hard Steel & Soft Iron 鍛接
- Sharpening Part 10 – The Ura 浦
- Sharpening Part 11 – Supernatural Bevel Angles
- Sharpening Part 12 – Skewampus Blades, Curved Cutting Edges, and Monkeyshines
- Sharpening Part 13 – Nitty Gritty
- Sharpening Part 14 – Natural Sharpening Stones
- Sharpening Part 15 – The Most Important Stone
- Sharpening Part 16 – Pixie Dust
- Sharpening Part 17 – Gear
- Sharpening Part 18 – The Nagura Stone
- Sharpening Part 19 – Maintaining Sharpening Stones
- Sharpening Part 20 – Flattening and Polishing the Ura
- Sharpening Part 21 – The Bulging Bevel
- Sharpening Part 22 – The Double-bevel Blues
- Sharpening Part 23 – Stance & Grip
- Sharpening Part 24 – Sharpening Direction
- Sharpening Part 25 – Short Strokes
- Sharpening Part 26 – The Taming of the Skew
- Sharpening Part 27 – The Entire Face
- Sharpening Part 28 – The Minuscule Burr
- Sharpening Part 29 – An Example
- Sharpening Part 30 – Uradashi & Uraoshi


Please Leave a Reply