

Tempo is all, perfection unattainable,
“The Golf Swing” by Roy McAvoy
As at the top of the swing… …there’s a hesitation, a little nod to the gods, that he is fallible. That perfection is unattainable.
The Japanese gennou is outwardly the simplest of hammers comprised of just a differentially-hardened steel head attached to a wooden handle without wedges, pins, epoxy or rubber. But as simple as it is, there are several factors that drive this tool’s performance. One critical factor is its “eye.”
The Unblinking Eye
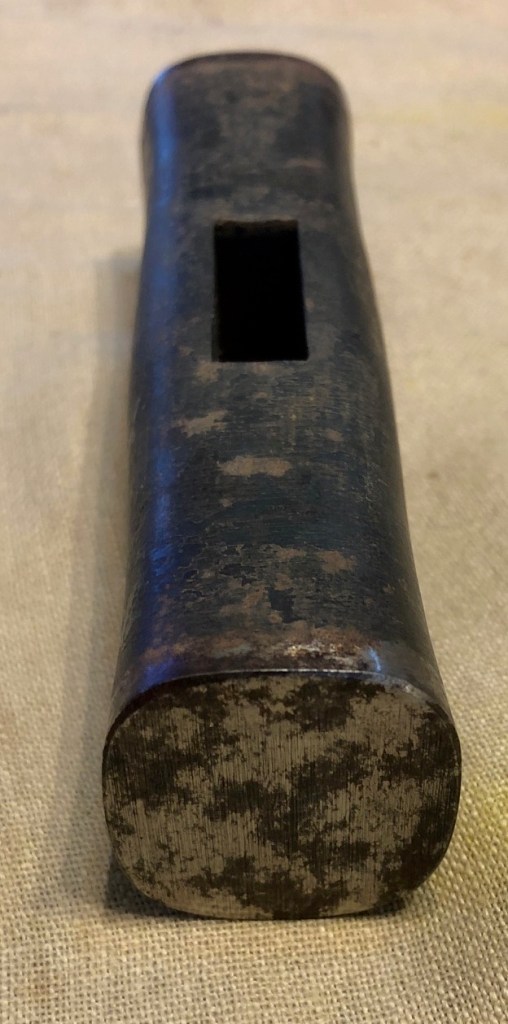
Since ancient times, hammer handles have ended in a “tenon” designed to fit inside a rectangular or circular through-mortise hole in the hammer’s head called the “eye,” in English, and “hitsu” in Japanese.
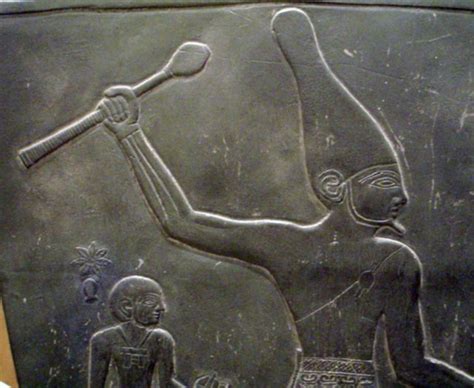
As a matter of fact, the ancient armies of Egypt used a stone mace with an eye cut into the head. Goofy hats were optional, I suppose.

In both Western hammers and the majority of Japanese hammers the interior walls of the eye are angled so that a wedge driven into the end of the handle will splay the handle’s tenon keeping it from slipping out of the eye. This connection works as well as can be expected, if the eye is deep and tolerances are acceptable, but Japanese gennou heads are not wide and their eyes are not deep, so a better solution was called for.
The huge downside to securing the head with a wedged tenon is that the wedge acts so as to split the tenon, an action that, once started may not end, and which will frequently cause the handle to split over time weakening it considerably. We’ve all seen old, abused hammers like this.
Also, a wedged connection seldom has uniform contact and pressure inside the eye and may therefore loosen as the wood wears from vibrations produced by impact forces.
In addition, uneven pressure between tenon and eye may induce unpleasant vibrations in the handle, a phenomenon you have not doubt experienced without realizing it, like an itch on the back of the neck felt long after that damned mosquito’s smash and grab.
A tight, high-friction, uniform-pressure fit between the eye’s walls and the tenon keeps the quality Japanese gennou head in place and working efficiently. Straight, parallel, square, clean walls of the sort an accomplished blacksmith can forge if he really tries (sadly so few bother anymore), are therefore critical.
Inexpensive mass-produced gennou and hammers typically have eyes with poor tolerances hidden by the handle tenon and sometimes concealed under resin caps. The heads and handles of such hammers and gennou seldom remain securely attached if used heavily long-term. Experienced Japanese professionals, therefore, have traditionally preferred to buy just the head without a handle so they can inspect the quality of the eye before laying down any cashy money. They then make the handle themselves.
This approach is consistent with the frugal craftsman ideology once common throughout the civilized world wherein the craftsman would make as many of his own tools as possible, often in imitation of his master’s tools and using metal components forged by the local blacksmith, all to be completed by the conclusion of his apprenticeship and graduation to “journeyman.”
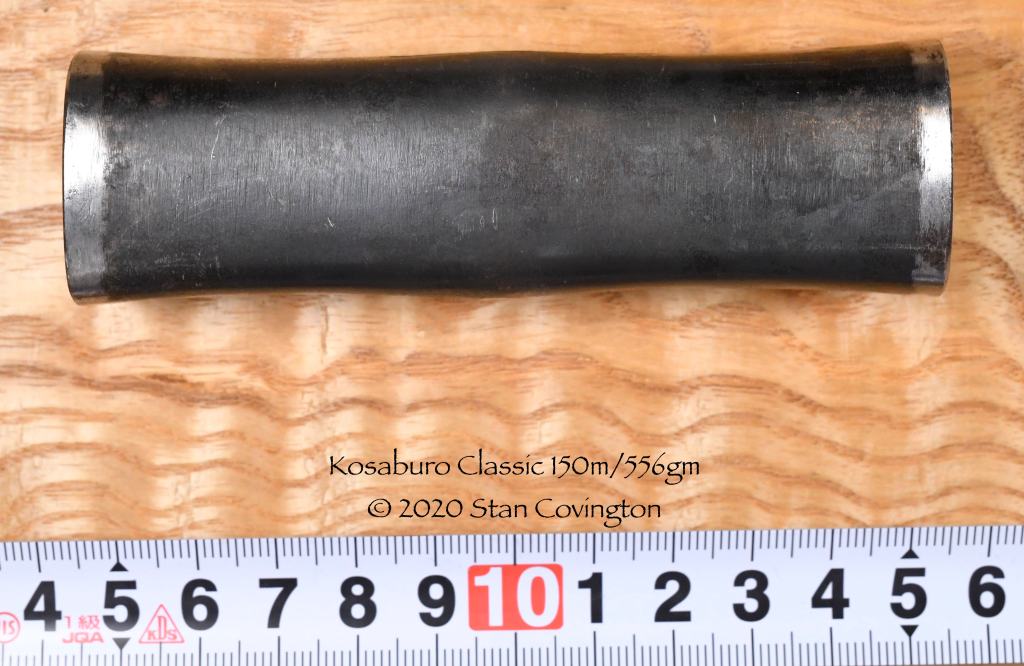
This explains the demand in Japan for high-quality relatively expensive heads such as those hand-forged by Kosaburo or Hiroki. Not only are they properly shaped and consistently heat treated, but they have precisely dimensioned eyes that will not only hold onto the tenon a long time and reduce unwanted vibrations, but will save the owner a ton of effort both truing the eye and replacing failed handles later. And since the gennou is a lifetime, heirloom tool, the extra cost of such a head is not wasted.
Since so much relies on the connection between the handle’s tenon and unseeing eye, let’s examine it and correct any deficiencies revealed.
Examining the Eye
This section contains hard-earned but subtle wisdom for those with eyes to see. Please open them.
‘Tis human nature to pay closest attention to the outward appearance, size, weight, texture, color, smell, and cost of physical objects while neglecting those things difficult to see or inconvenient to “try.” Accordingly, most folk never think to check the void that is the unseeing eye. Fie, nay, not thee, Beloved Customer. Prithee first inspect the eye for if ought is amiss, then the head will not only be the very devil to hang a handle for, but will be unstable during the swing and wiggle like an ell on a fishhook hook on impact, intolerable failings in a tool we need to use with speed and precision unconsciously.
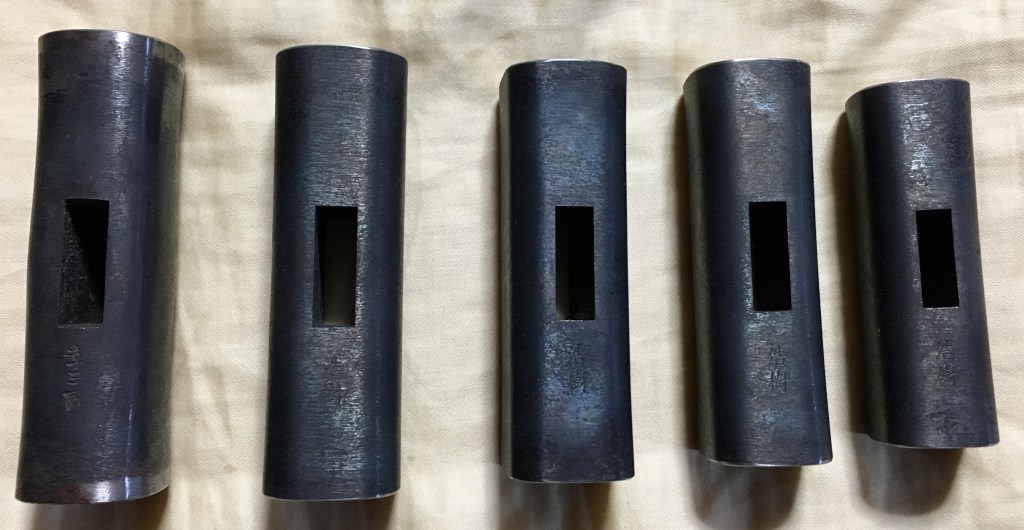
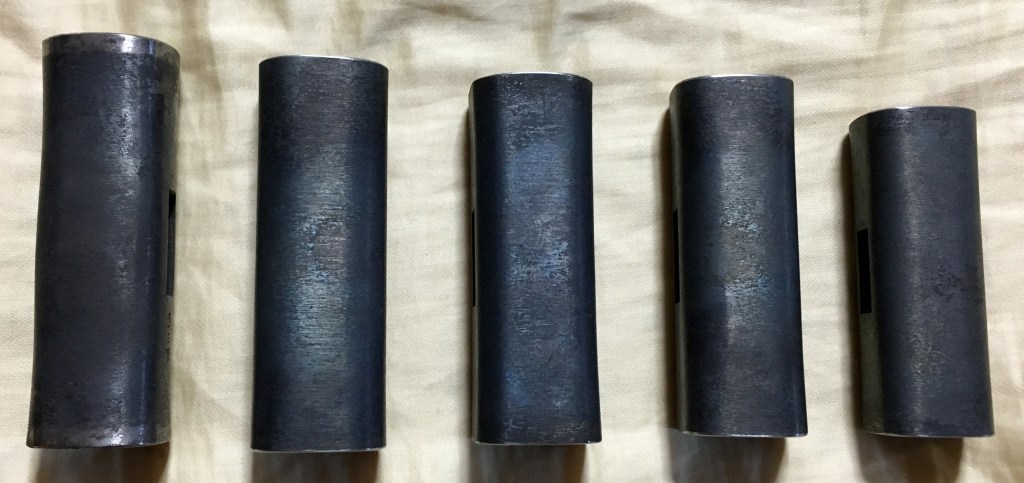
How to do this examination? Just sight down the length of the head’s body with the eye in view. A flashlight/torch will be helpful in this process.
What to look for? The eye should be of uniform width over its entire length, and the sides parallel, of course. It should also be centered in the body and not skewed. The narrow end surfaces of the eye should also be straight and square to the sides.
Mass-produced gennou heads typically fail this examination to some degree, and even some expensive handmade heads will too, sorry to say. Be sure to inspect they eye this way on both sides of the head.

Next you need to inspect inside the eye. Use a flashlight to check the interior walls are straight, parallel, square, free of twist, and without significant bumps, bulges or gouges. You may need to make a tiny square from wood or metal to perform these checks. There are special machinists squares and depth gauges that are ideal for this purpose. An accurate caliper (vernier, dial or digital) will prove useful.
Ofttimes the eye’s walls are intentionally sloped inwards from both ends so the center of the eye is narrower than either opening. This geometry is intended to compress the tenon as it is driven through the constriction locking the tenon into the eye. The crushed tenon is then supposed to expand afterwards, essentially relying on kigoroshi to bind the tenon in the eye. This geometry does work, kinda sorta, if a wedge is driven into a sawkerf cut into the tenon. Gennou heads with this style of eye are much easier to produce and are intended for mass-produced beaters. Such head/handle combinations may exhibit strange harmonic vibration, which you may or may not be able to detect, and since pressure on the wooden tenon is not uniform, swelling/shrinking of the tenon with seasonal humidity changes will always cause the head to loosen over time.
If a gennou head is secured to the handle with wedges, it may be because the eye is sloppily made, or just because that is what amateurs are accustomed to seeing, but a quality gennou head fitted to a proper handle does not need wedges to secure it no matter what Fat Max says.
Correcting the Eye
As the philosopher and erstwhile golf poet Tin Cup taught the World: “Perfection is Unattainable,” so I caution against an OCD attack over a hammer, but if you are patient, have abundant time, tough fingers, and a collection of needle files you can try to true the unseeing eye. This is a tedious job because only small files can be used, and that within a narrow space both difficult to see into and with little room to develop leverage. Sorta like removing corruption from the US Senate.
And as when rooting out evil politicians and bribe-swilling public employees, please be careful when filing to avoid making things worse. Remember, flat, parallel walls free of twist with clean sharp corners are the goal. Once you have trued one poor quality eye you will understand the value of a high-quality premium gennou, which has nothing to do with finish or decoration.
If your gennou head has a constricted eye, please file all four walls straight.
Whatever you do, don’t leave the walls curved outwards so that the eye is wider at any point inside than at its openings, because the handle can never be properly fitted to such an eye and will always work loose.
Make a Layout Tenon
Once the eye of your gennou is true, cut and plane a piece of softwood that perfectly slip-fits into and through the eye with 3 or 4 inches protruding out both sides. Draw lines on the stick where it projects from both ends of the eye. We will call this stick the “layout tenon.” Save it to use later in the handle-making process.
In the next post in this series on making a handle for the Japanese gennou hammer we will look at selecting a gennou head.
YMHOS

The following link is to a folder containing pricelists and photos of most of our products. If you have questions or would like to learn more, please use the form located immediately below titled “Contact Us,” or email us at Covingtonandsons@gmail.com
Please share your insights and comments with everyone by using the form located further below labeled “Leave a Reply.” We aren’t evil Google, fascist facebook, or a US Congressman’s Chinese girlfriend and so won’t sell, share, or profitably “misplace” your information. May scorpions nest in my shoes if I lie.


